I can create trucks or containers associated to a purchase
This tutorial explains the process of creating trucks and containers associated with a purchase in Jules.
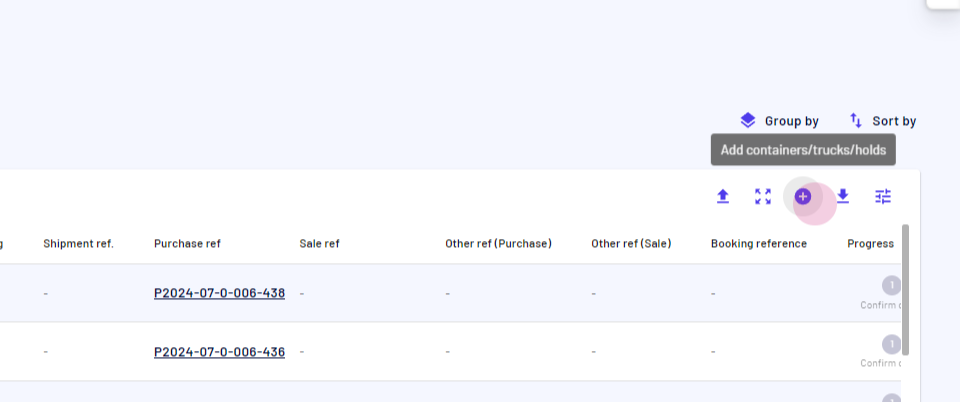
Begin on the Trucks and Containers page.
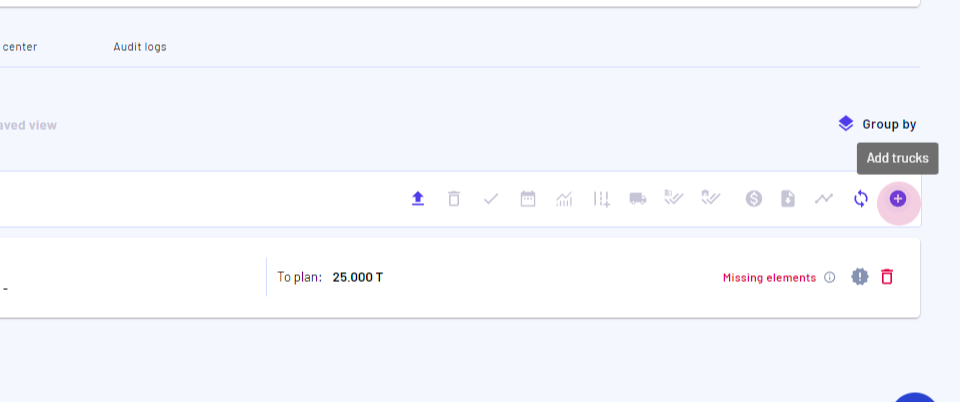
Step 1: Click on Add Containers.
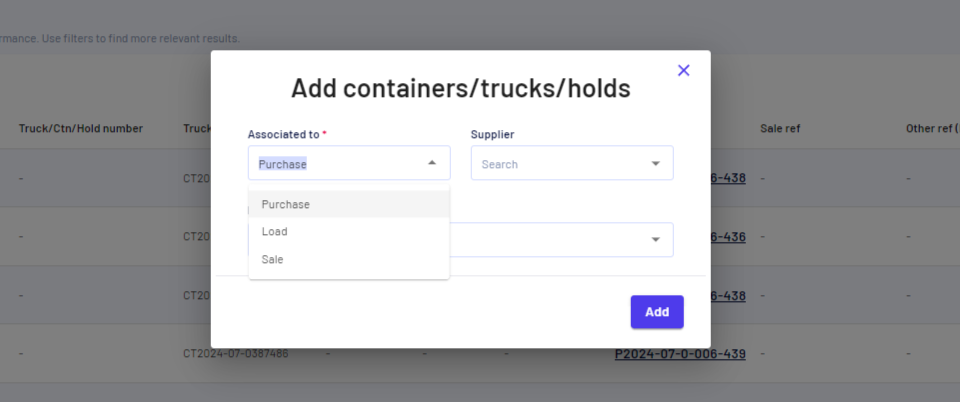
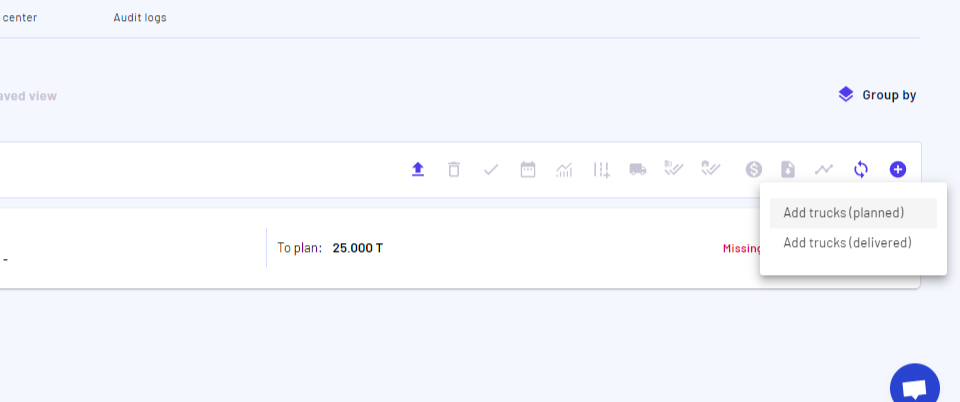
Step 2: Choose between adding Planned Containers or Delivered Containers. For this tutorial, select Planned Containers.

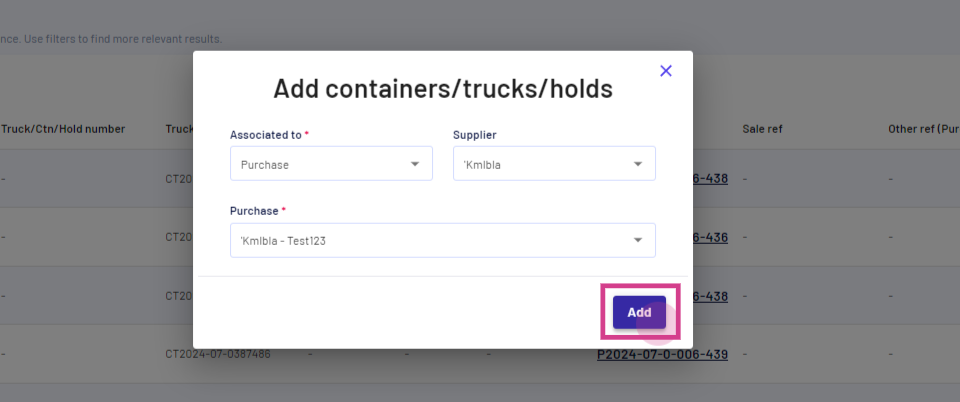
Step 3: Associate a container or a truck to a purchase, load, or sale. Here, select Purchase.
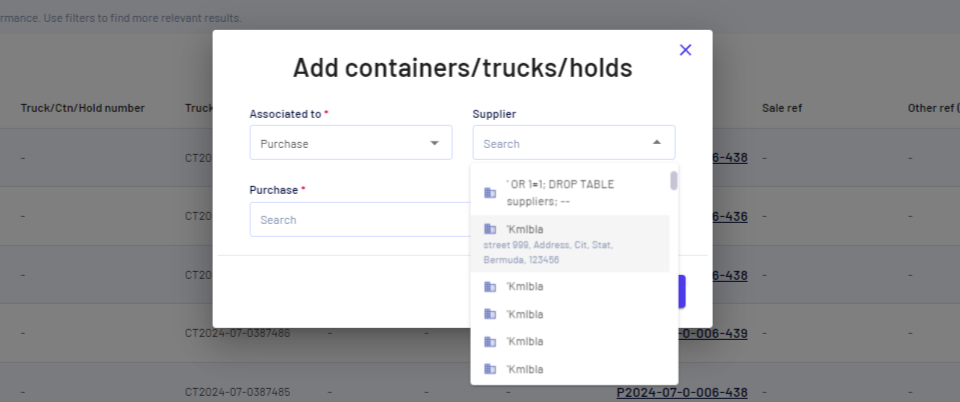
Step 4: Select a Supplier.
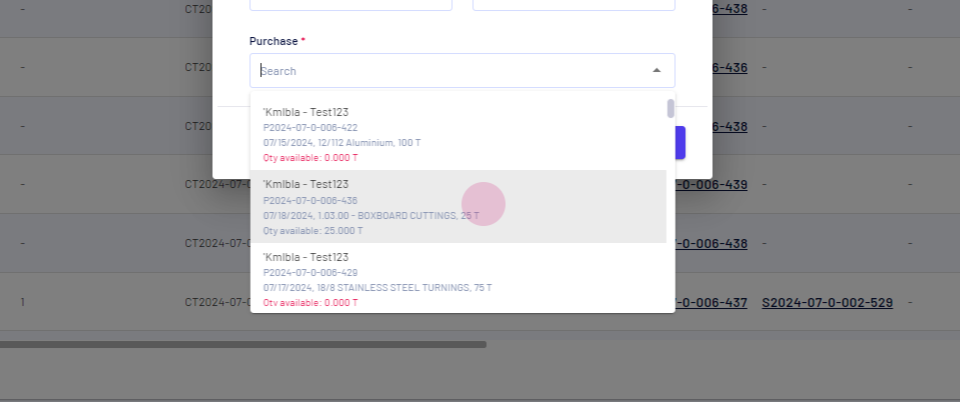
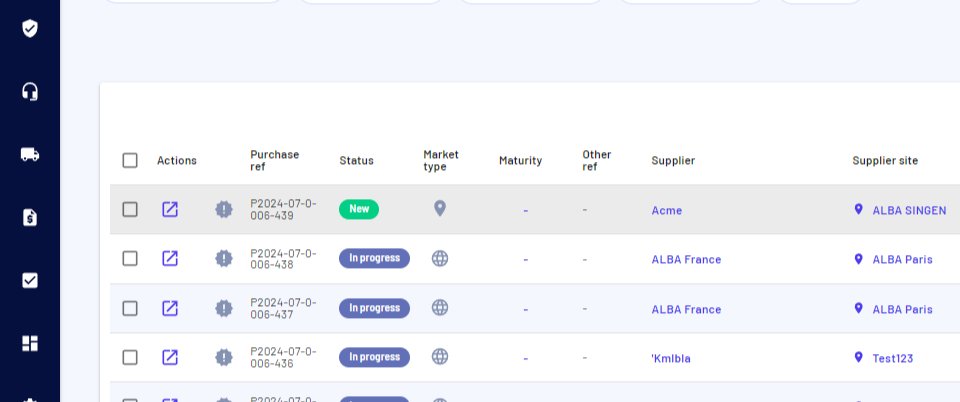
Step 5: Choose the associated Purchase.
Step 6: Click on Add.
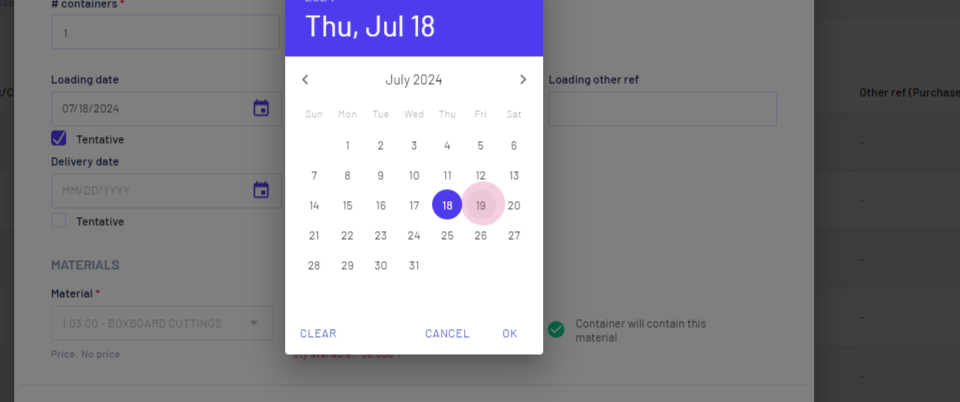
Step 7: Provide planning details and material details. Select a Loading Date.
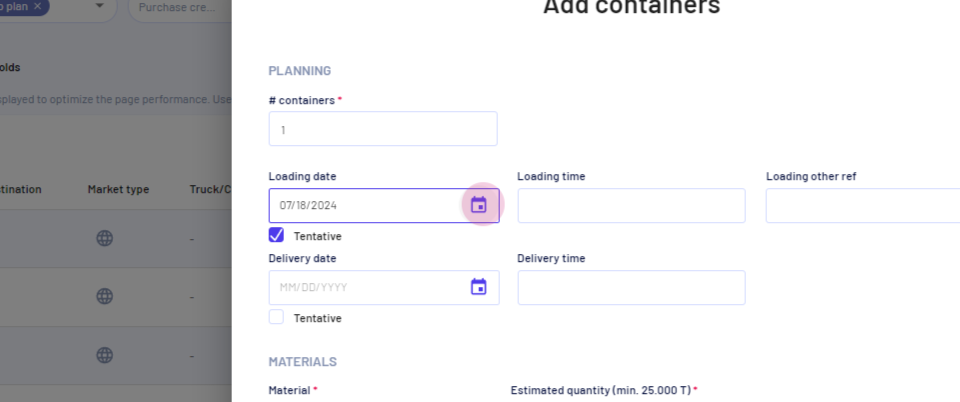
Step 8: Select a Delivery Date.
Step 9: Click on Add.
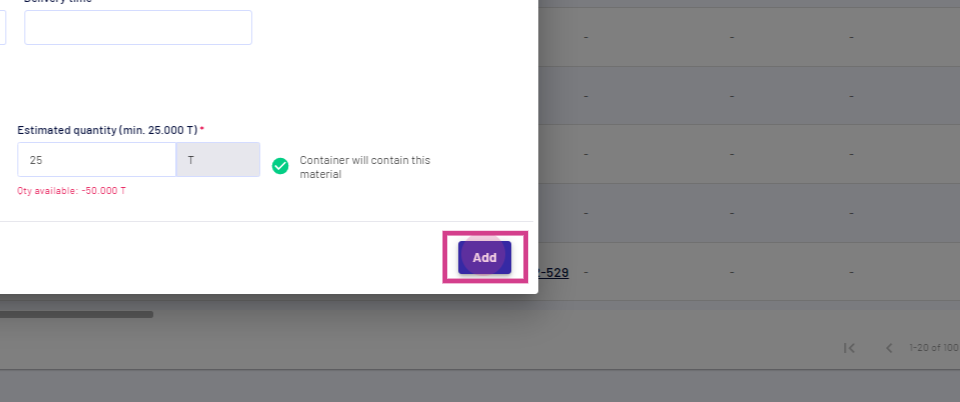
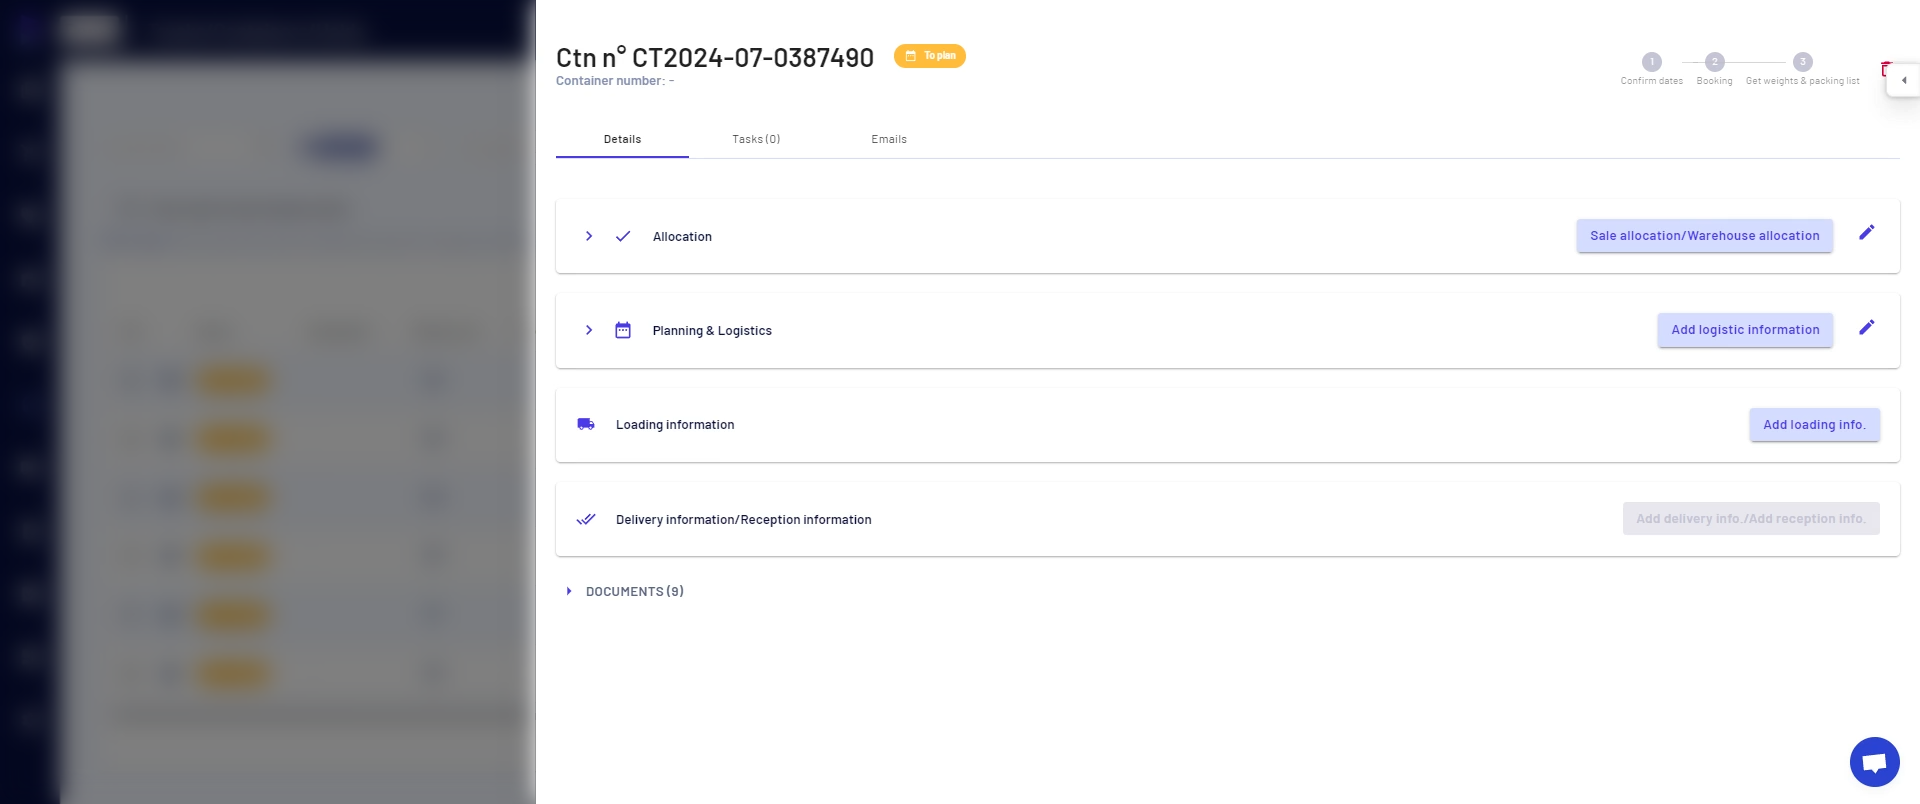
The container is now successfully assigned to the purchase. Check allocation details, logistics information, documentation, and loading information in the drawer.
Assigning a Container Directly from the Purchase Page
Containers can also be assigned to a purchase directly from the Purchase page.
Step 1: Navigate to the Purchase Page.

Step 2: Select a purchase to assign containers or trucks.
Step 3: Navigate to the Trucks and Containers page and click on Add Containers or Trucks.

Step 4: Follow the same procedure to add trucks or containers to an associated purchase in Joules.
Updated on: 09/08/2024
Thank you!