I can create a sale [Mobile]
This guide outlines the steps to create a sale using the Jules mobile application.
Start by adding a new sale:
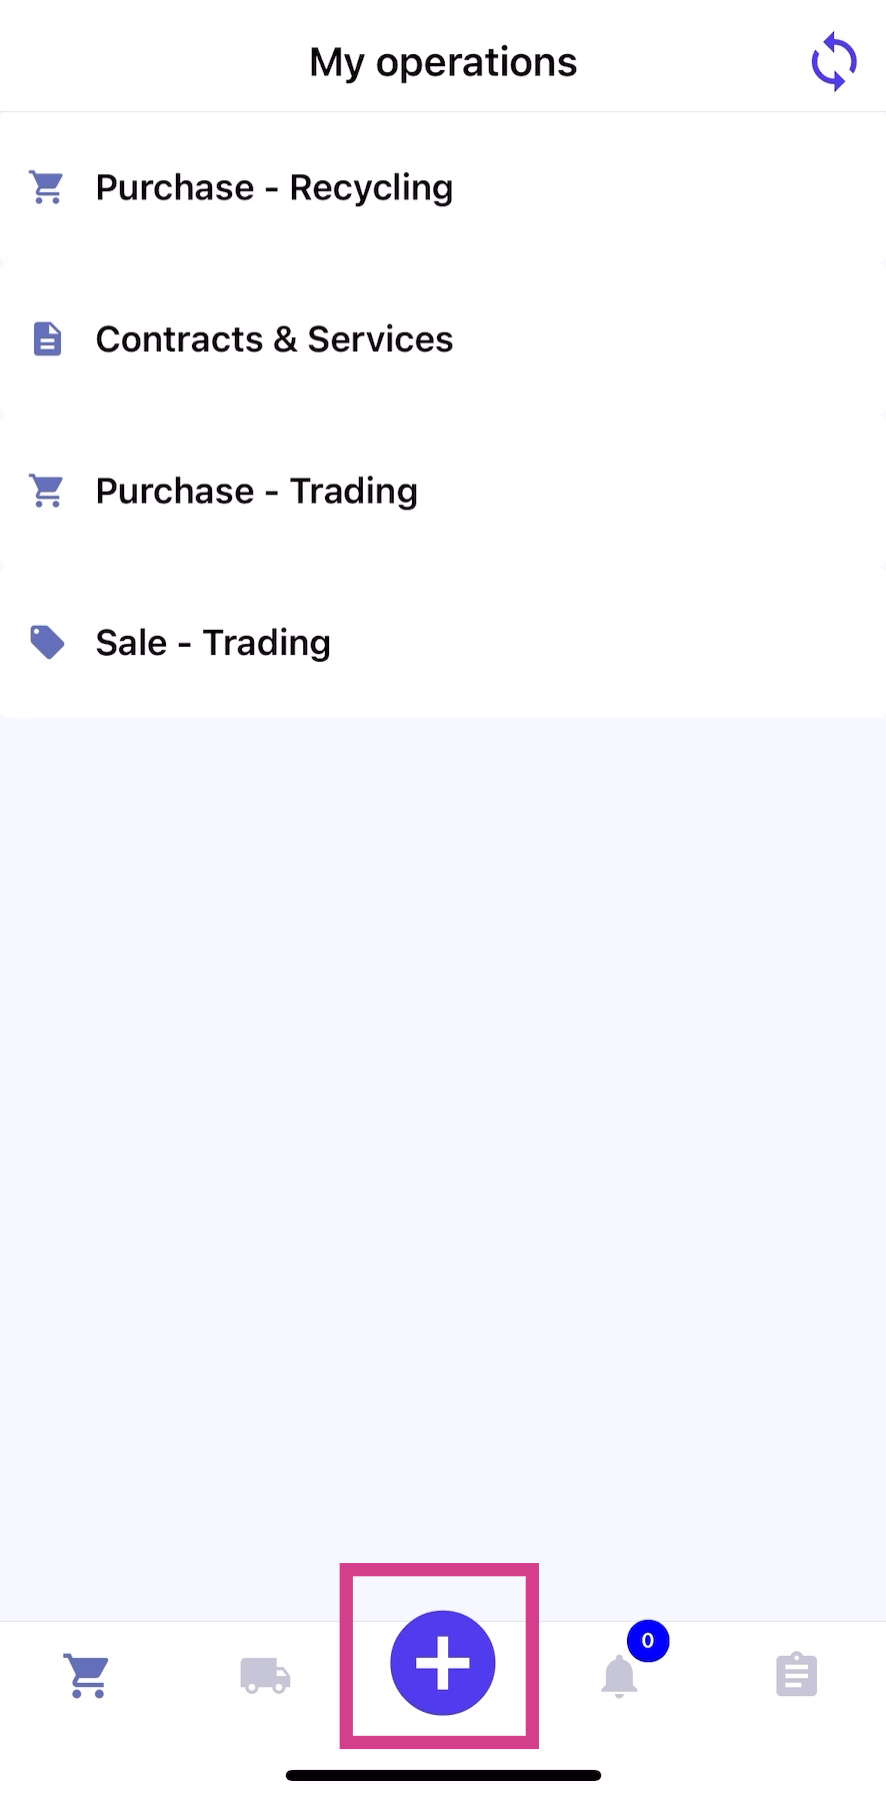
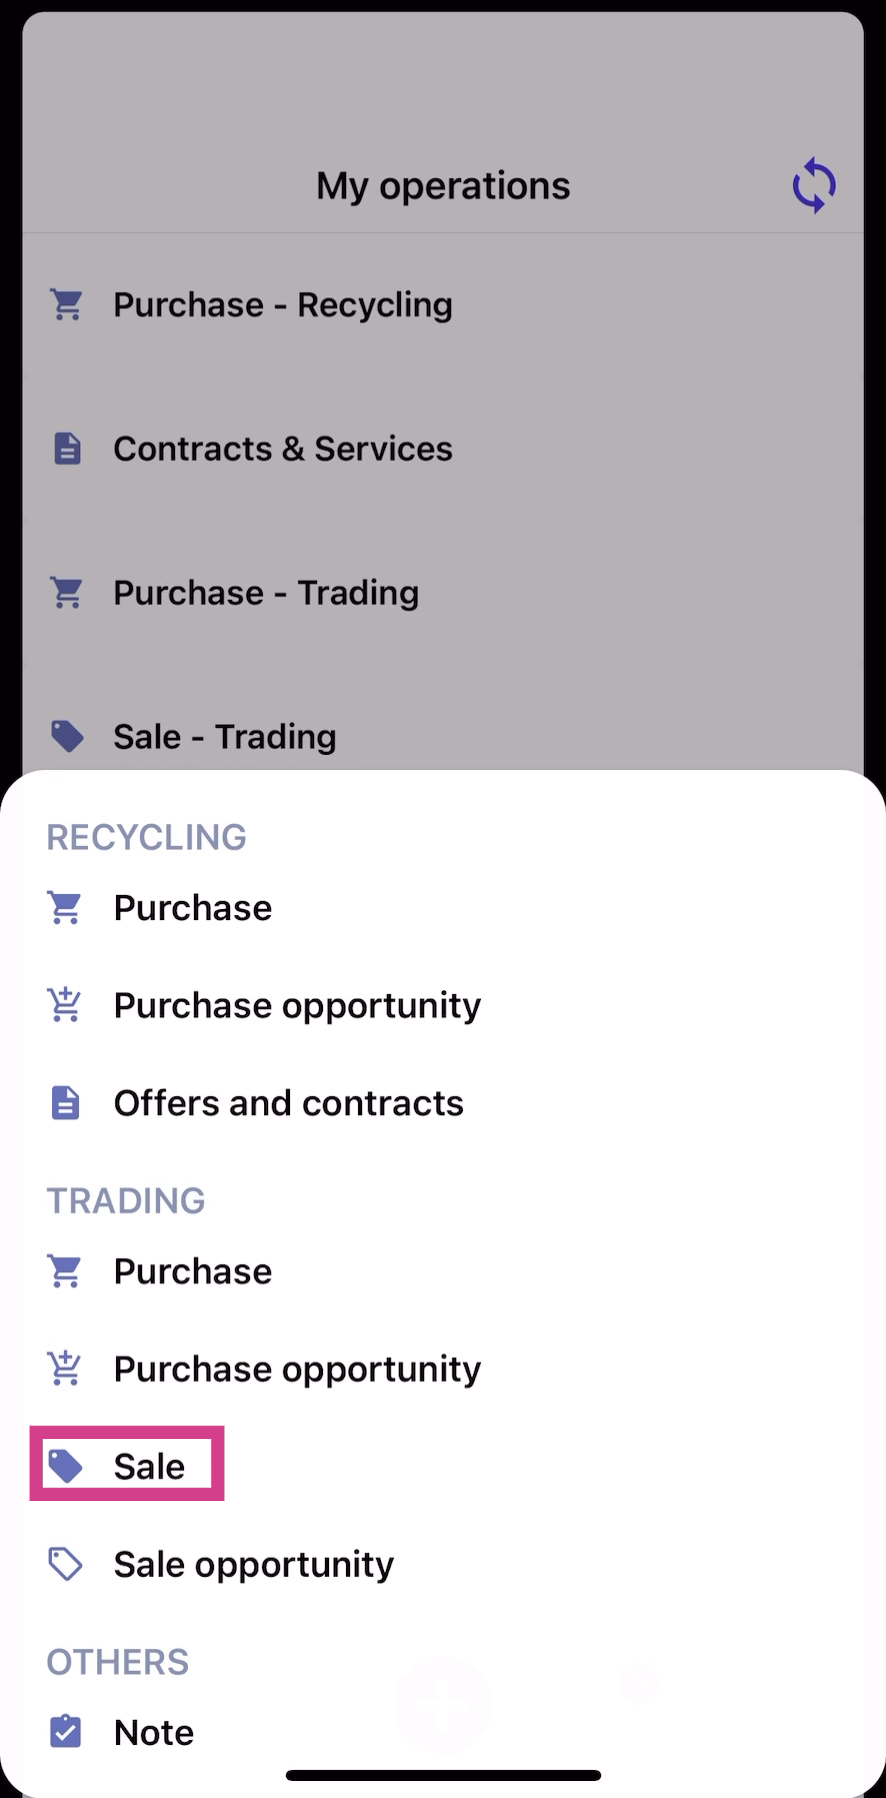
Step 1: Click on Add and select Sale under trading.
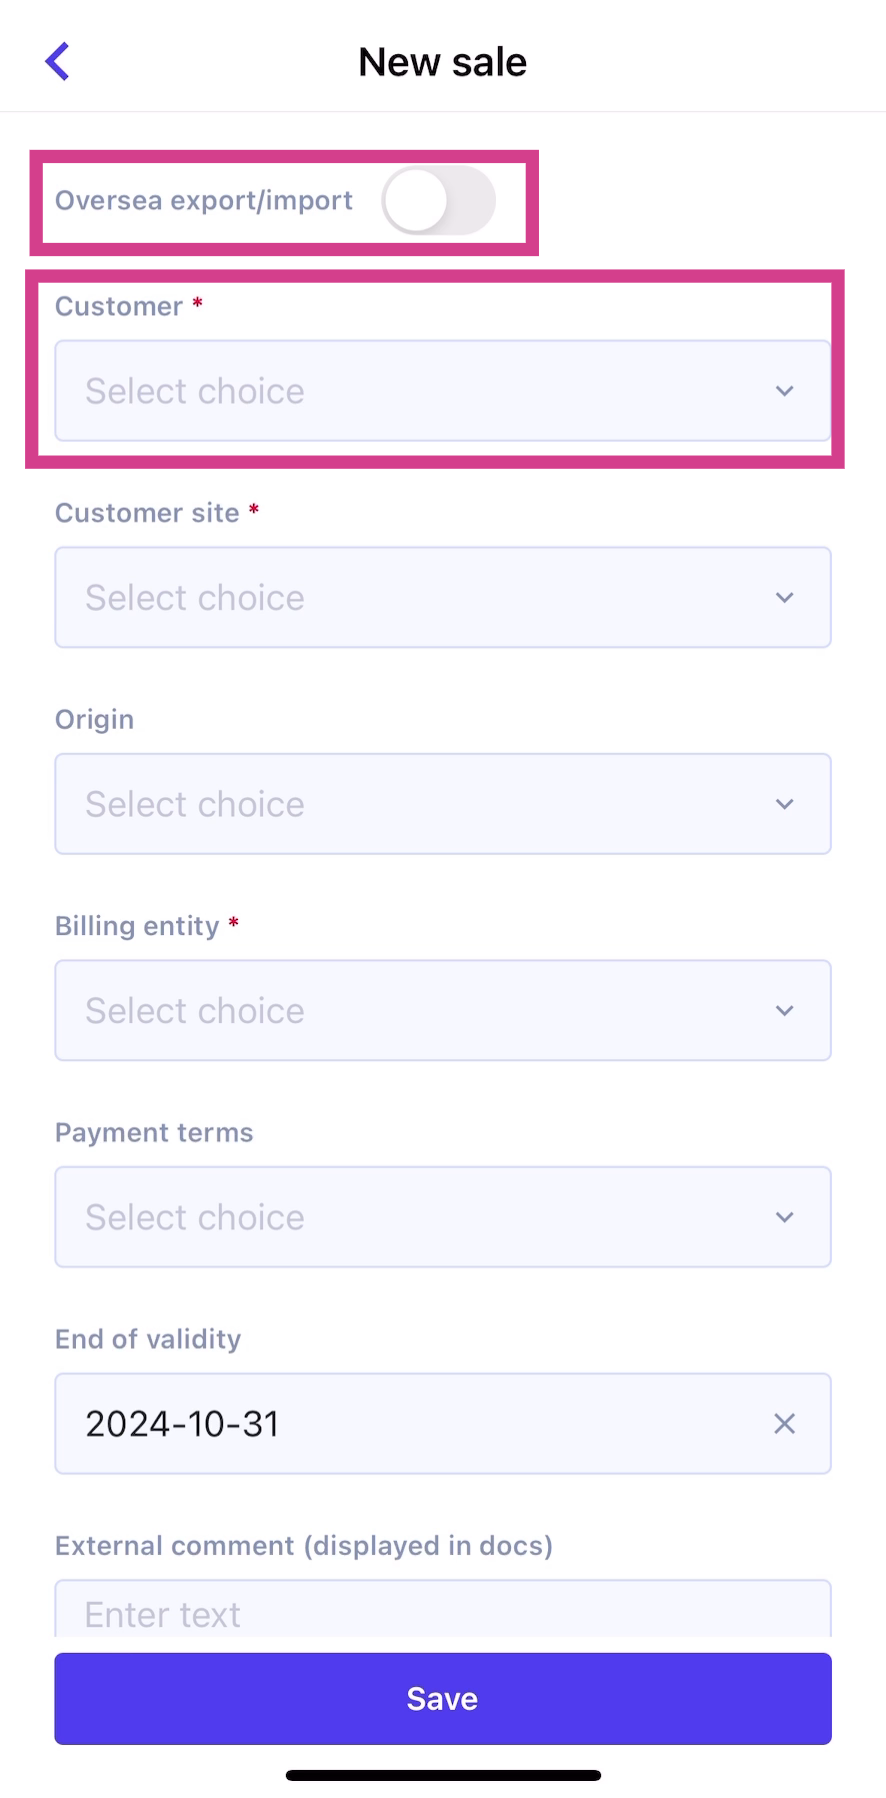
Step 2: If the sale is for export, toggle the Oversee Export Import option. Then, select a customer.
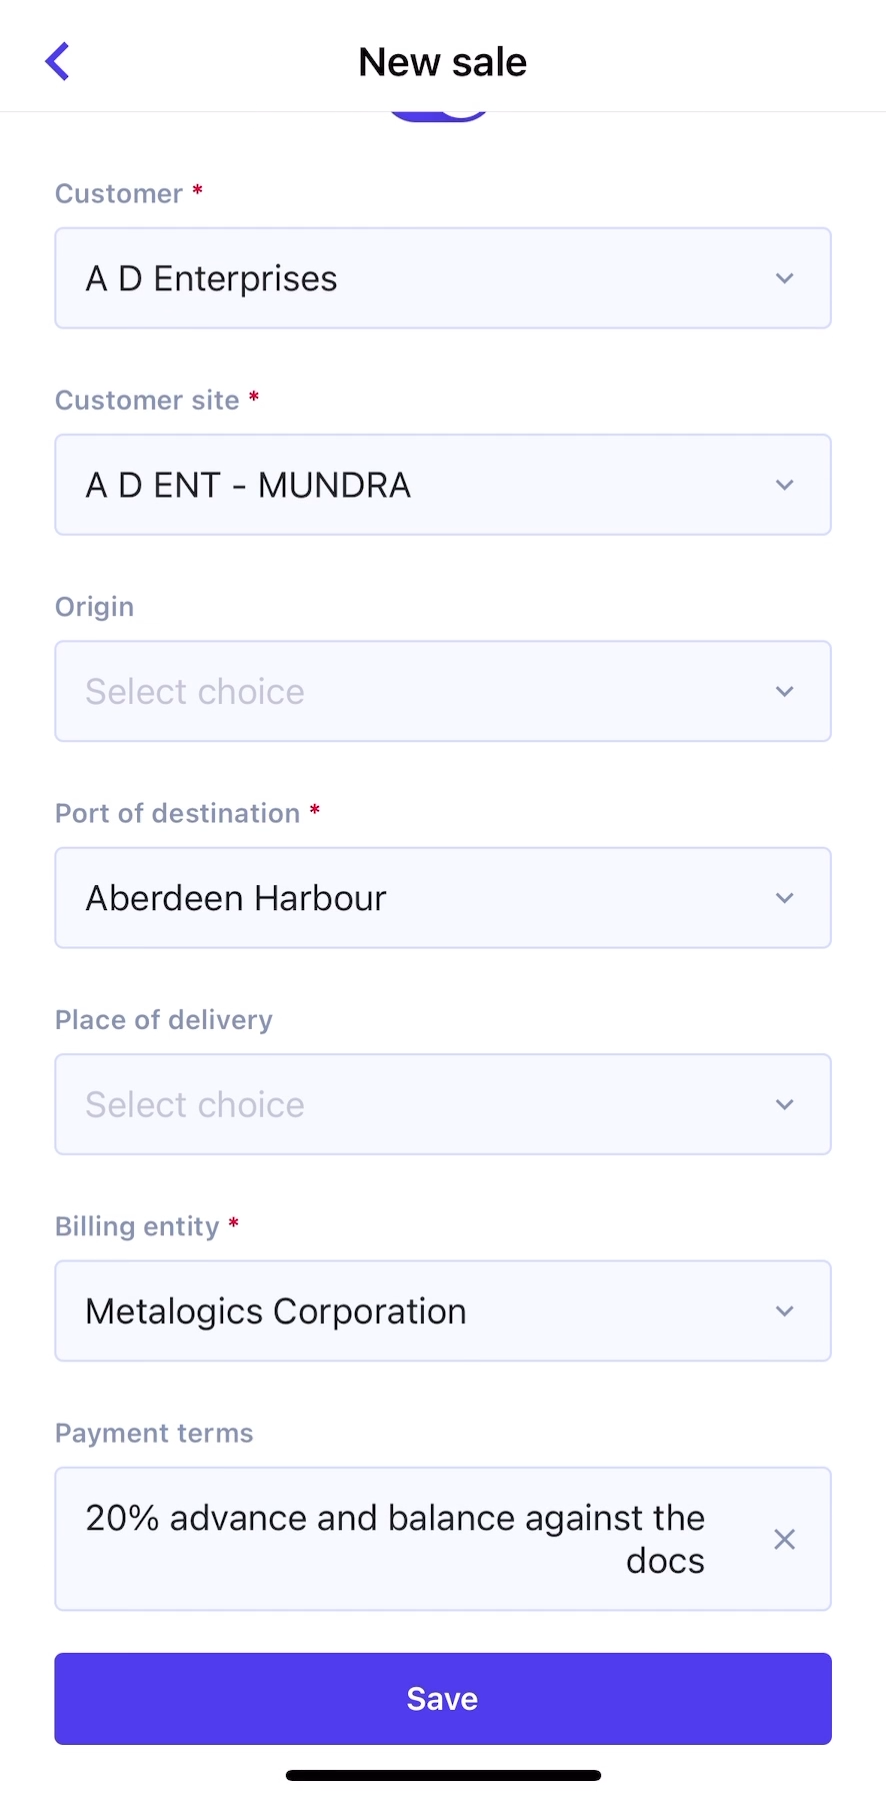
Step 3: The customer site, port of destination, and billing entity will auto-fill based on default parameters. Remember, fields marked with a red asterisk are mandatory.
Step 4: Scroll down and click on Show More.
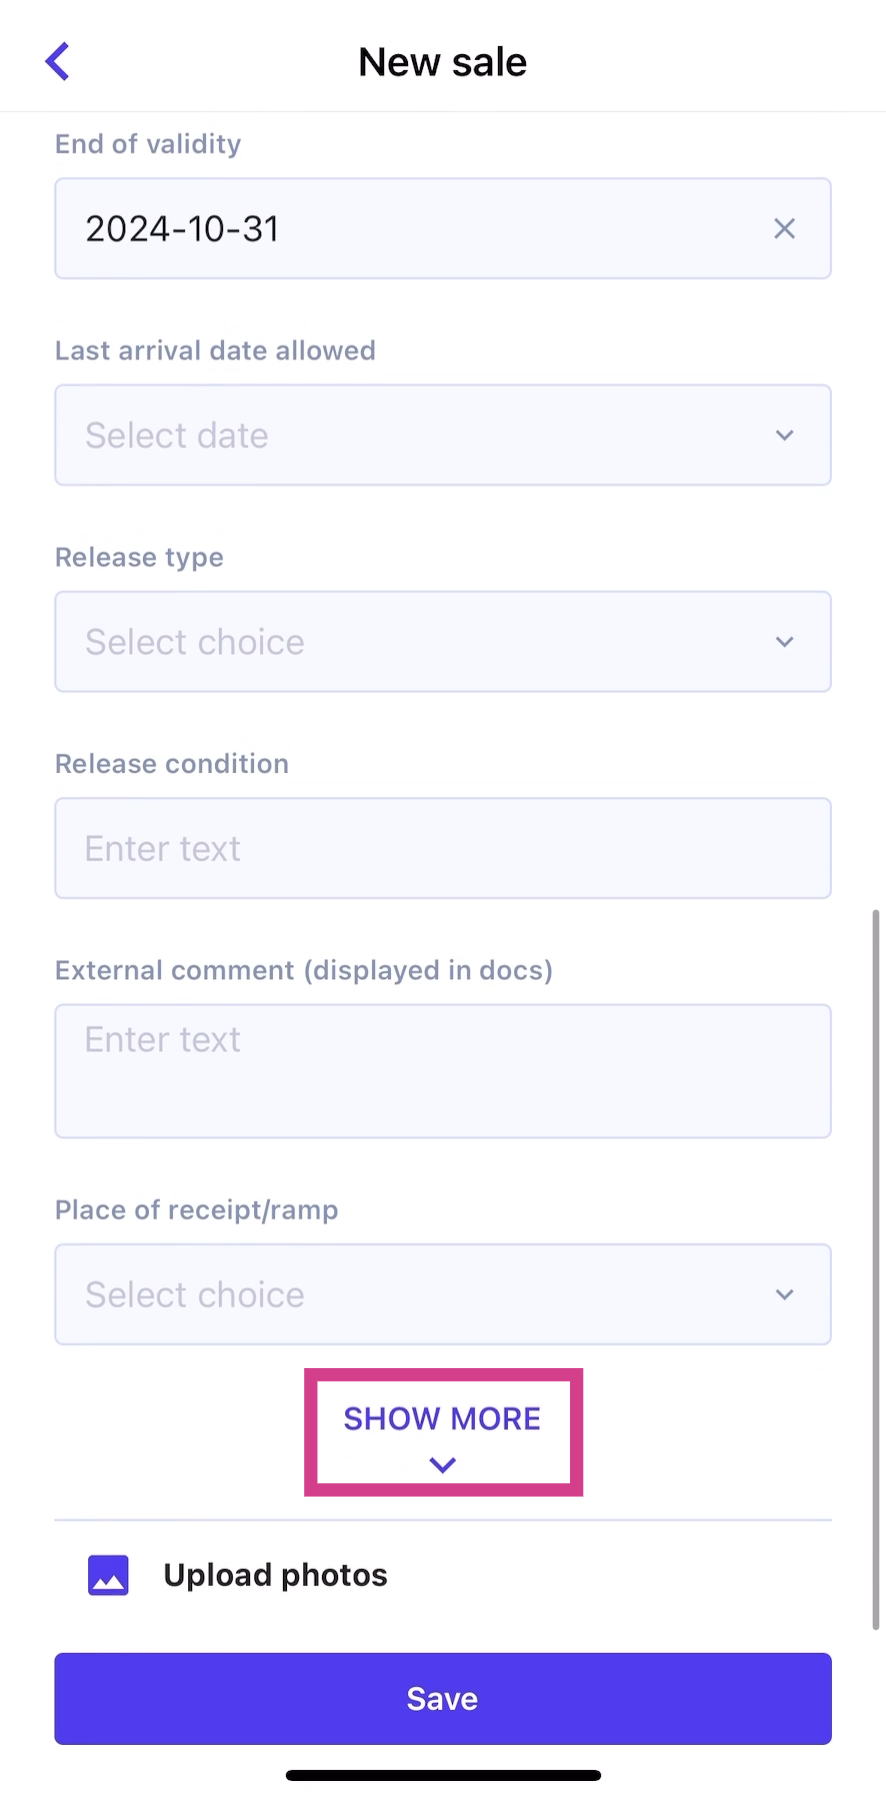
Step 5: This page displays all available fields for the sale. Optionally, click on Upload Photos to add images of the material from your device. After filling in the details, click on Save.
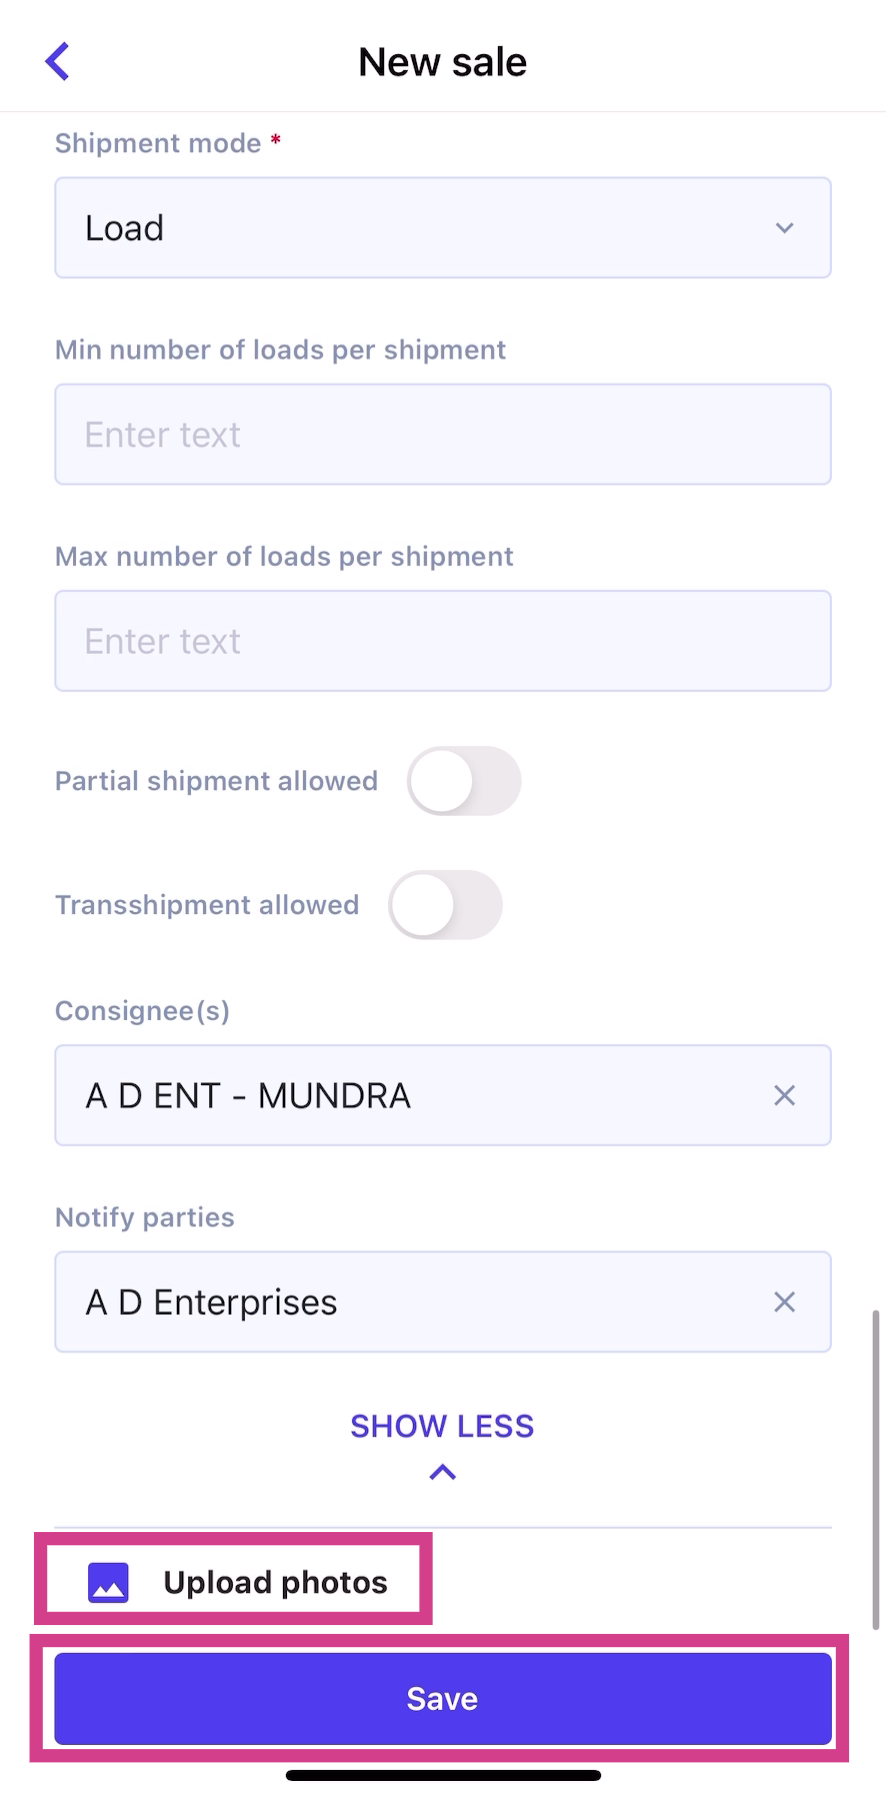
Next, add material details:
Step 1: Select a material.
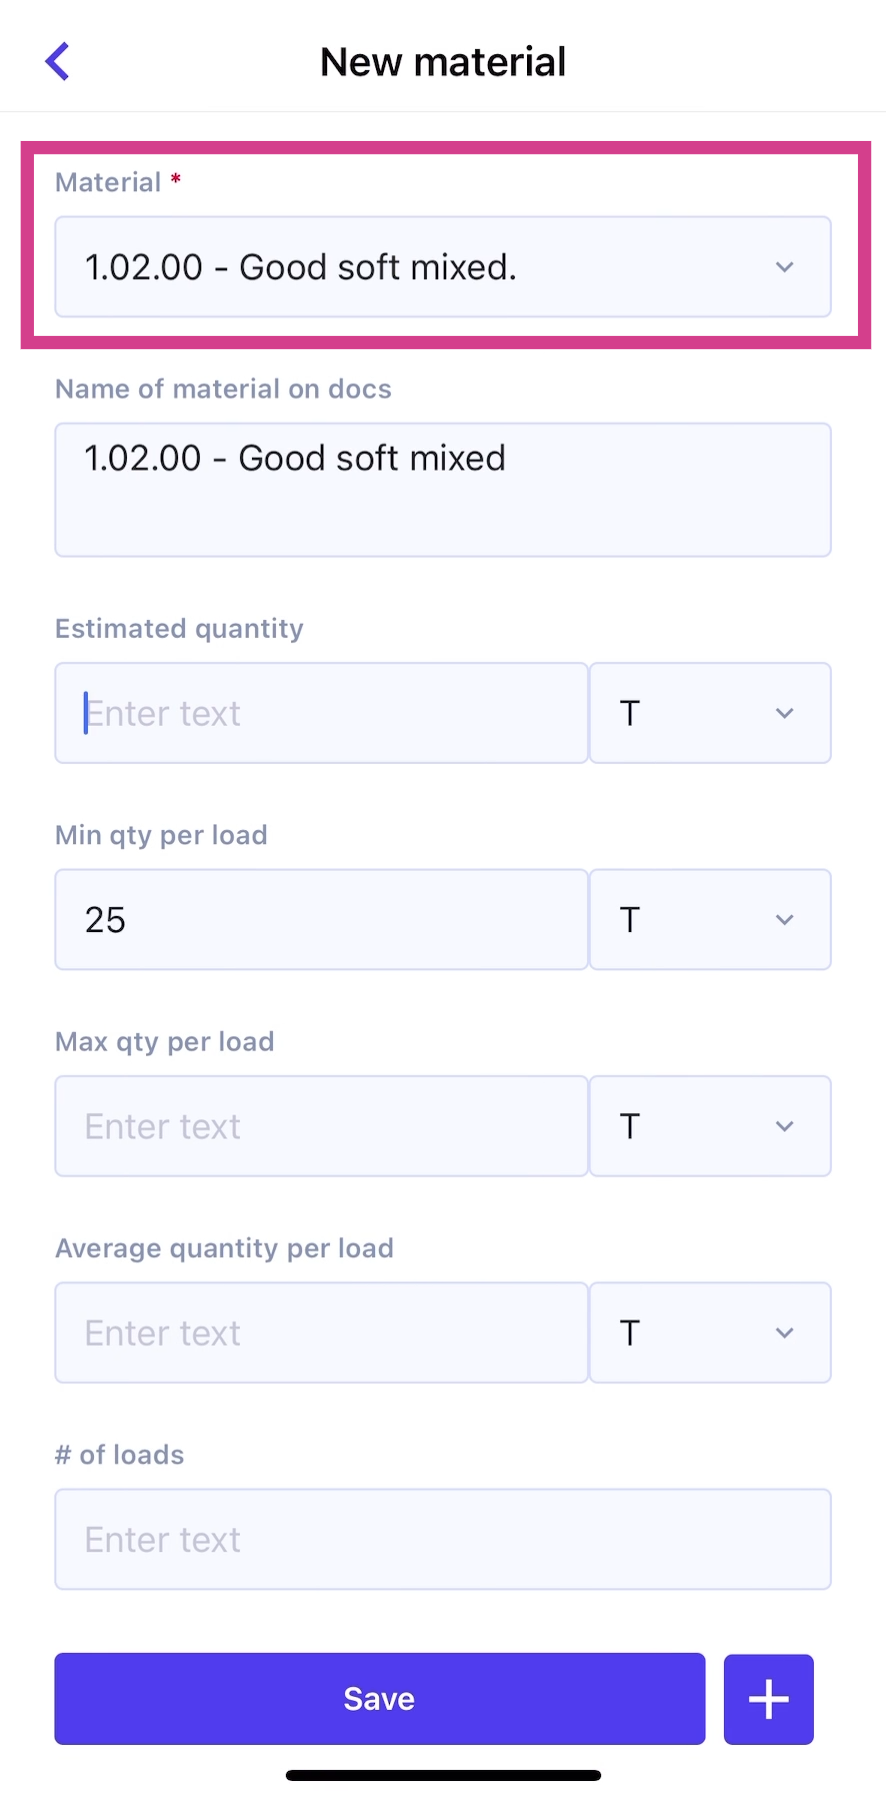
Step 2: Enter the estimated quantity. The number of loads will auto-fill after entering the estimated quantity and minimum quantity per load.
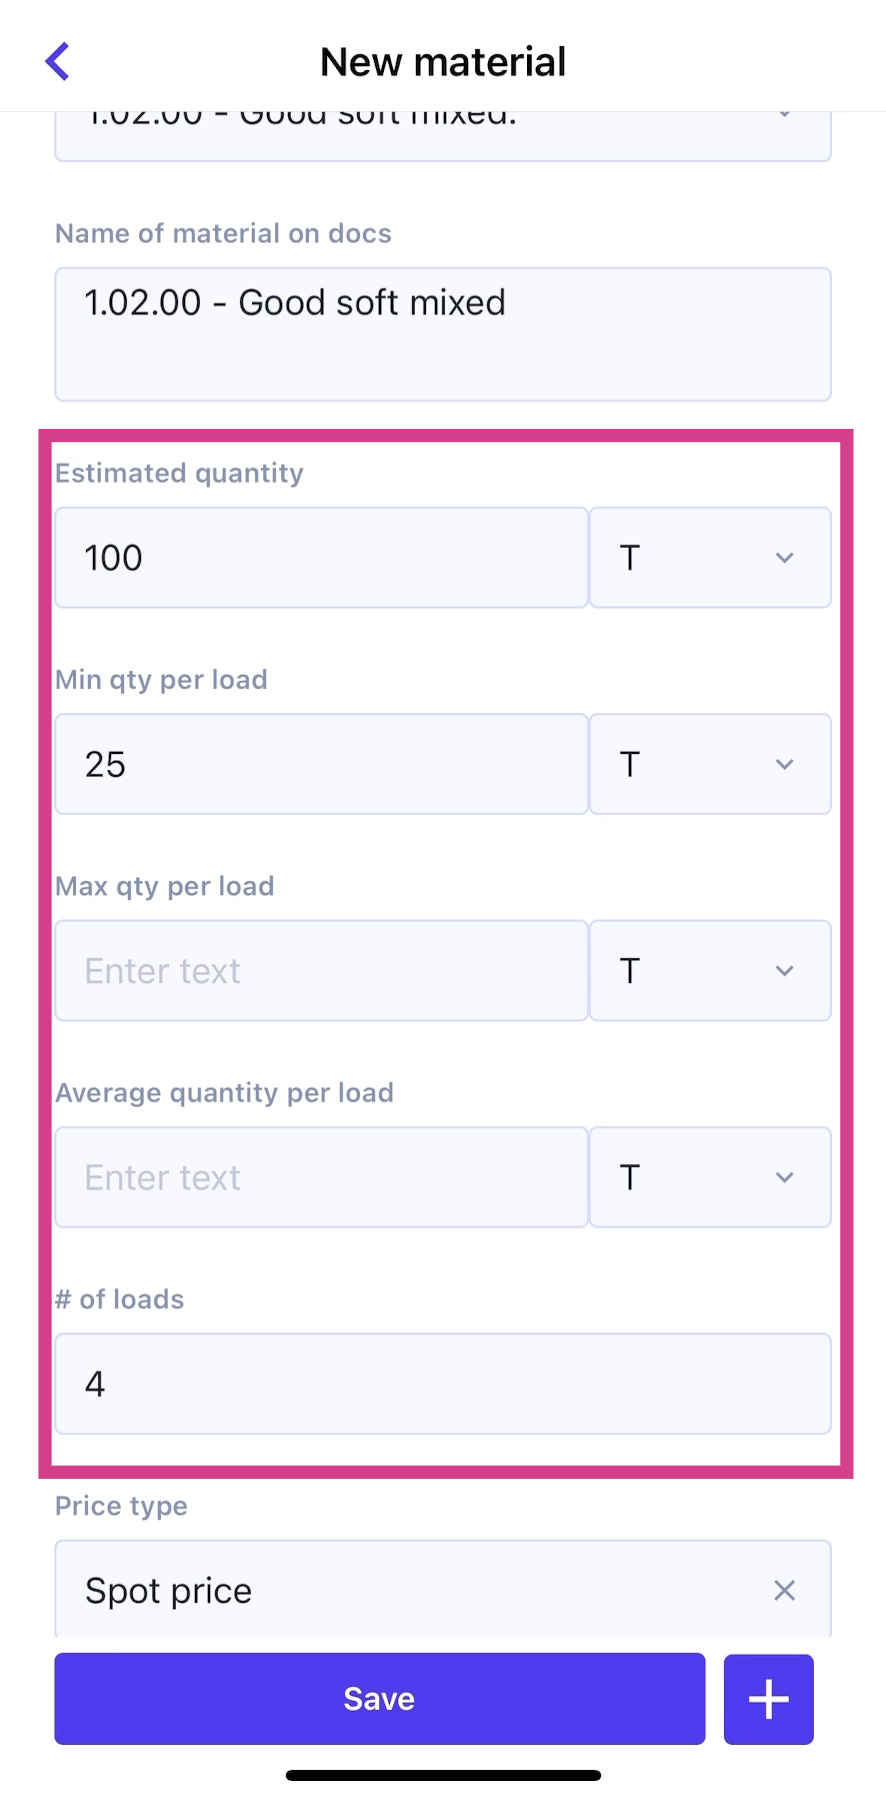
Step 3: Choose a pricing option. Jules offers Spot Price or Formula Price. For this example, select Spot Price.
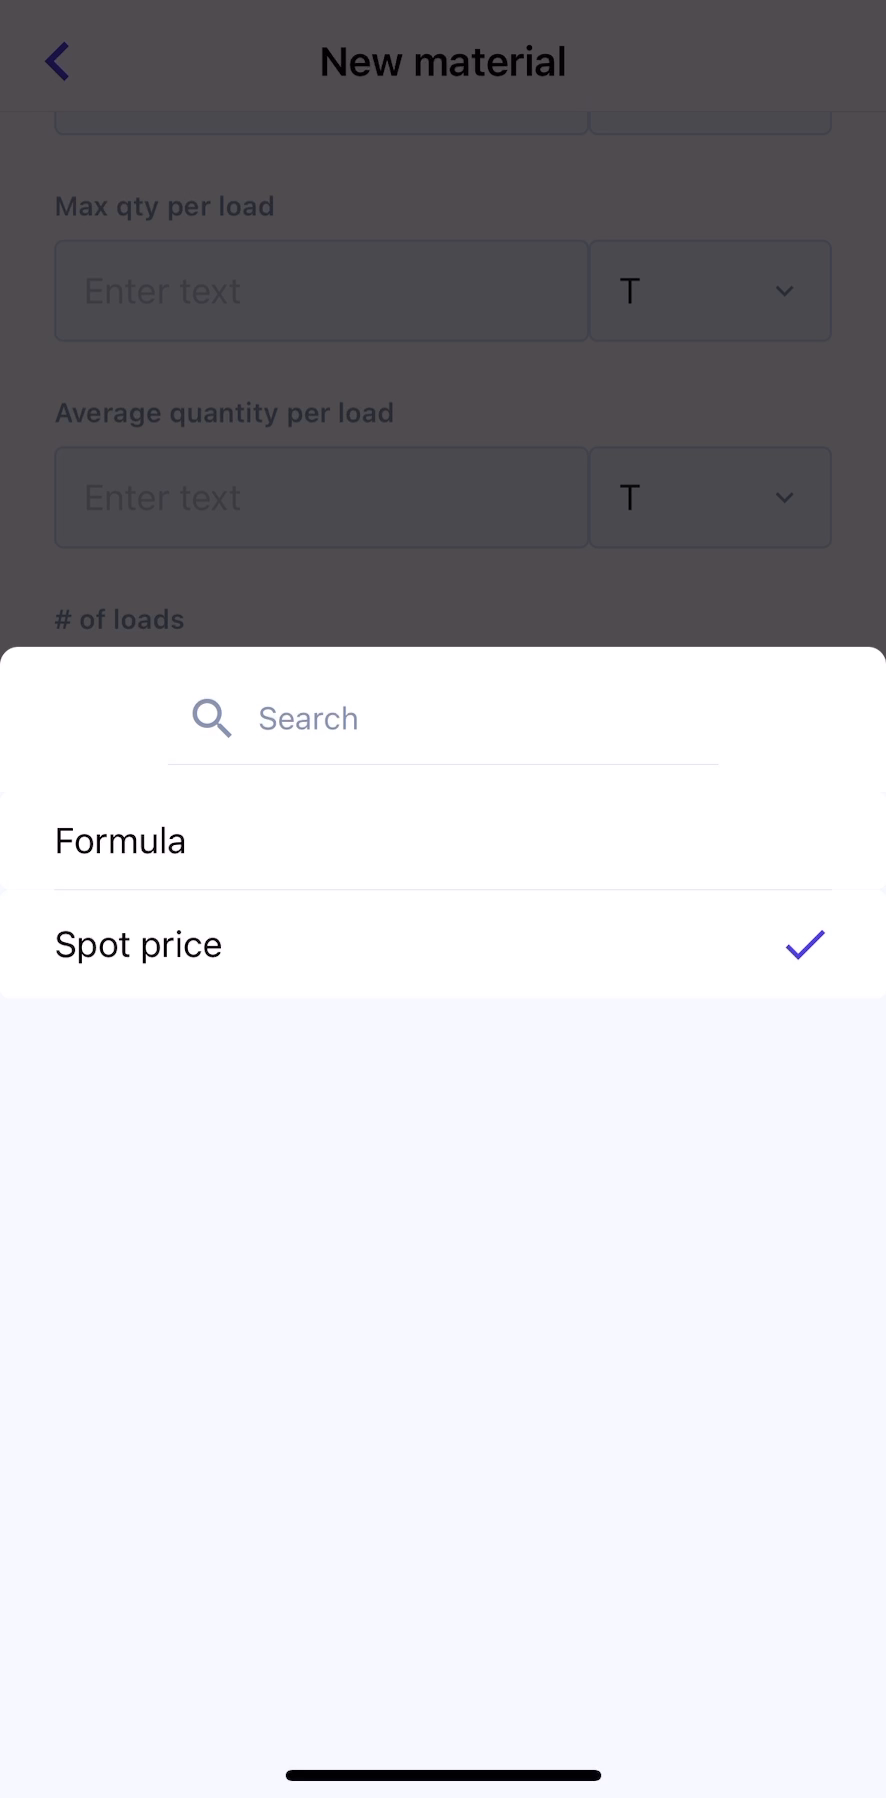
Step 4: Enter the price.
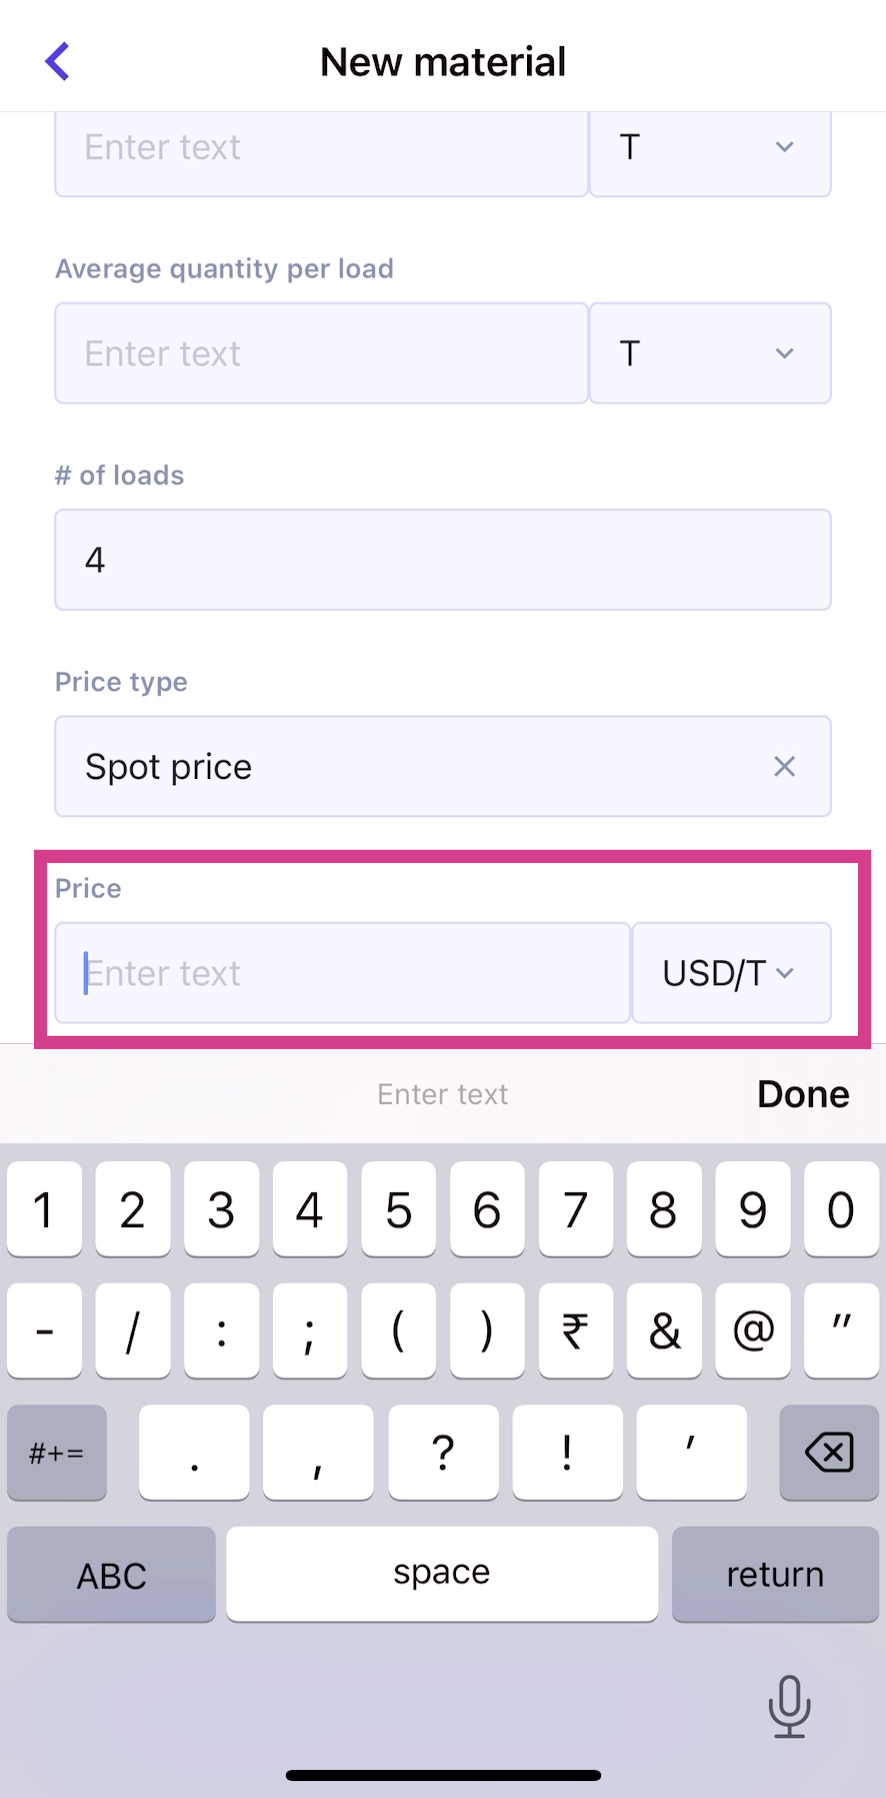
Step 5: Select an Incoterm.
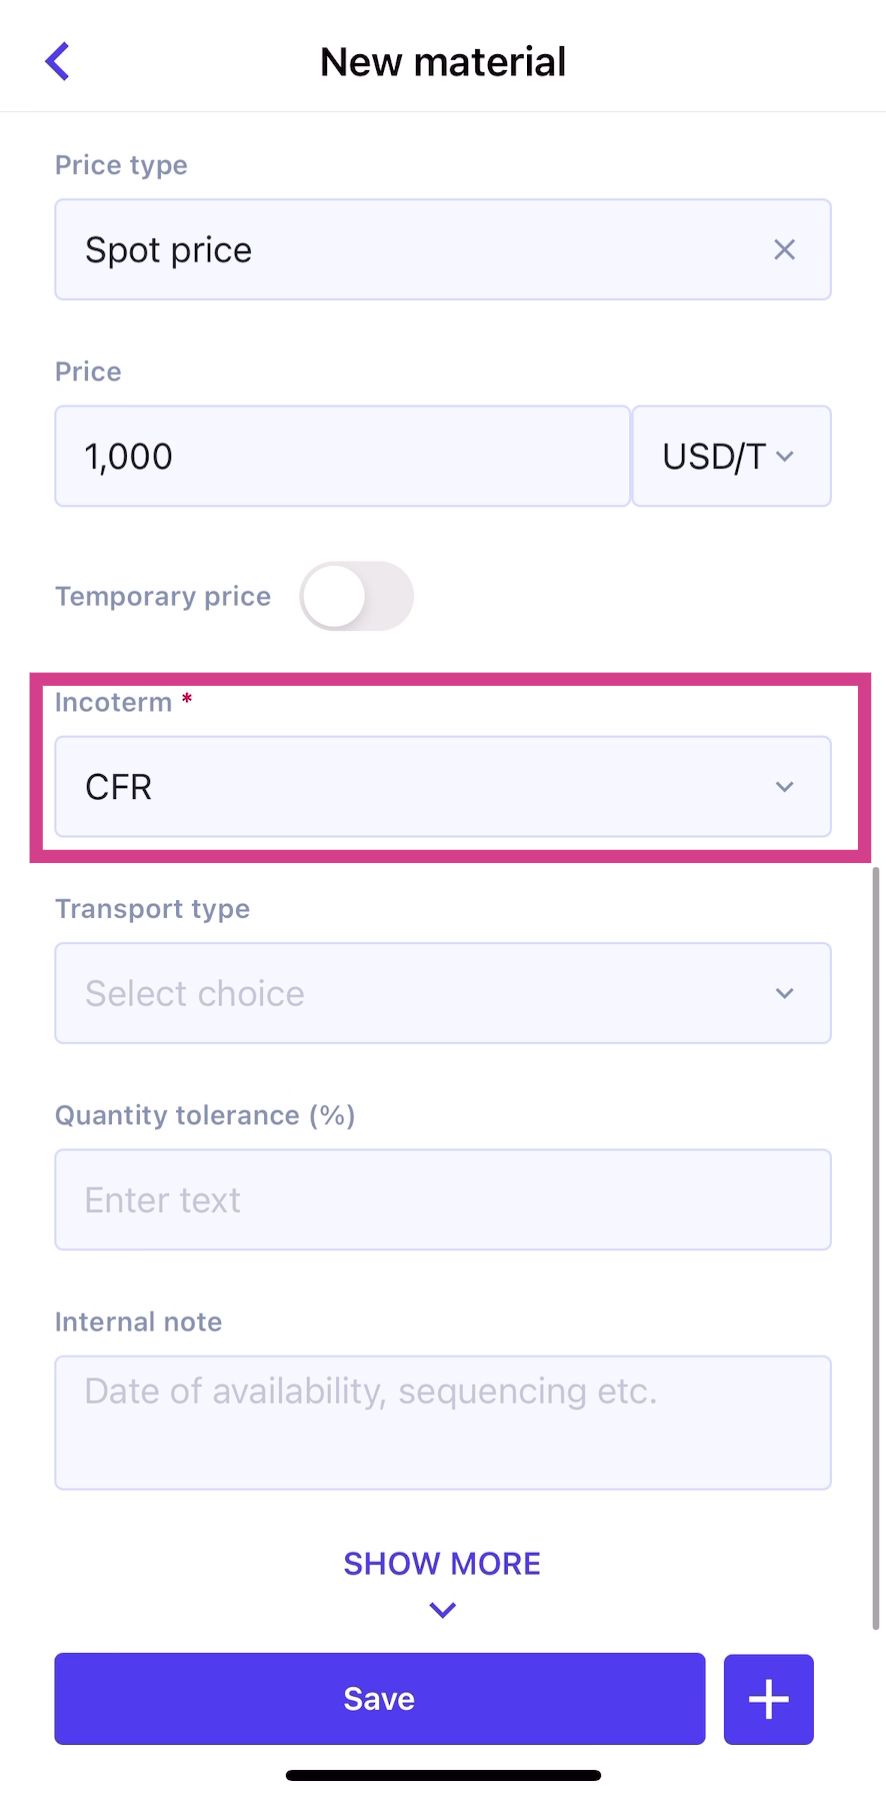
Step 6: Click on Show More to view and fill in additional fields for the sale.
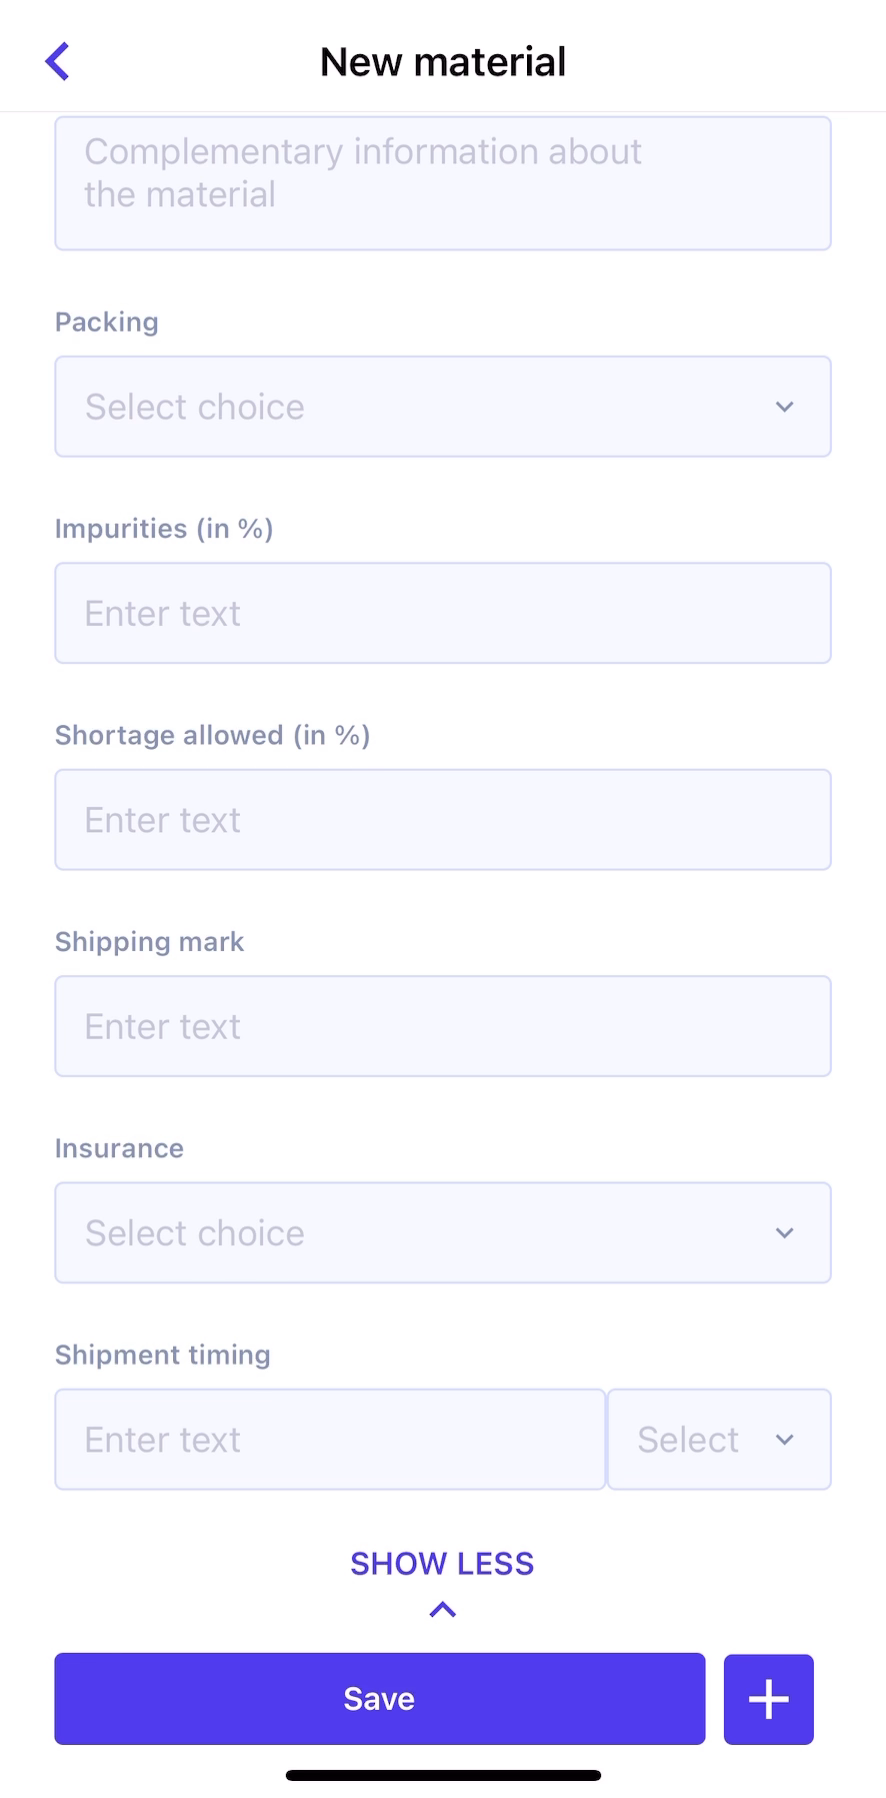
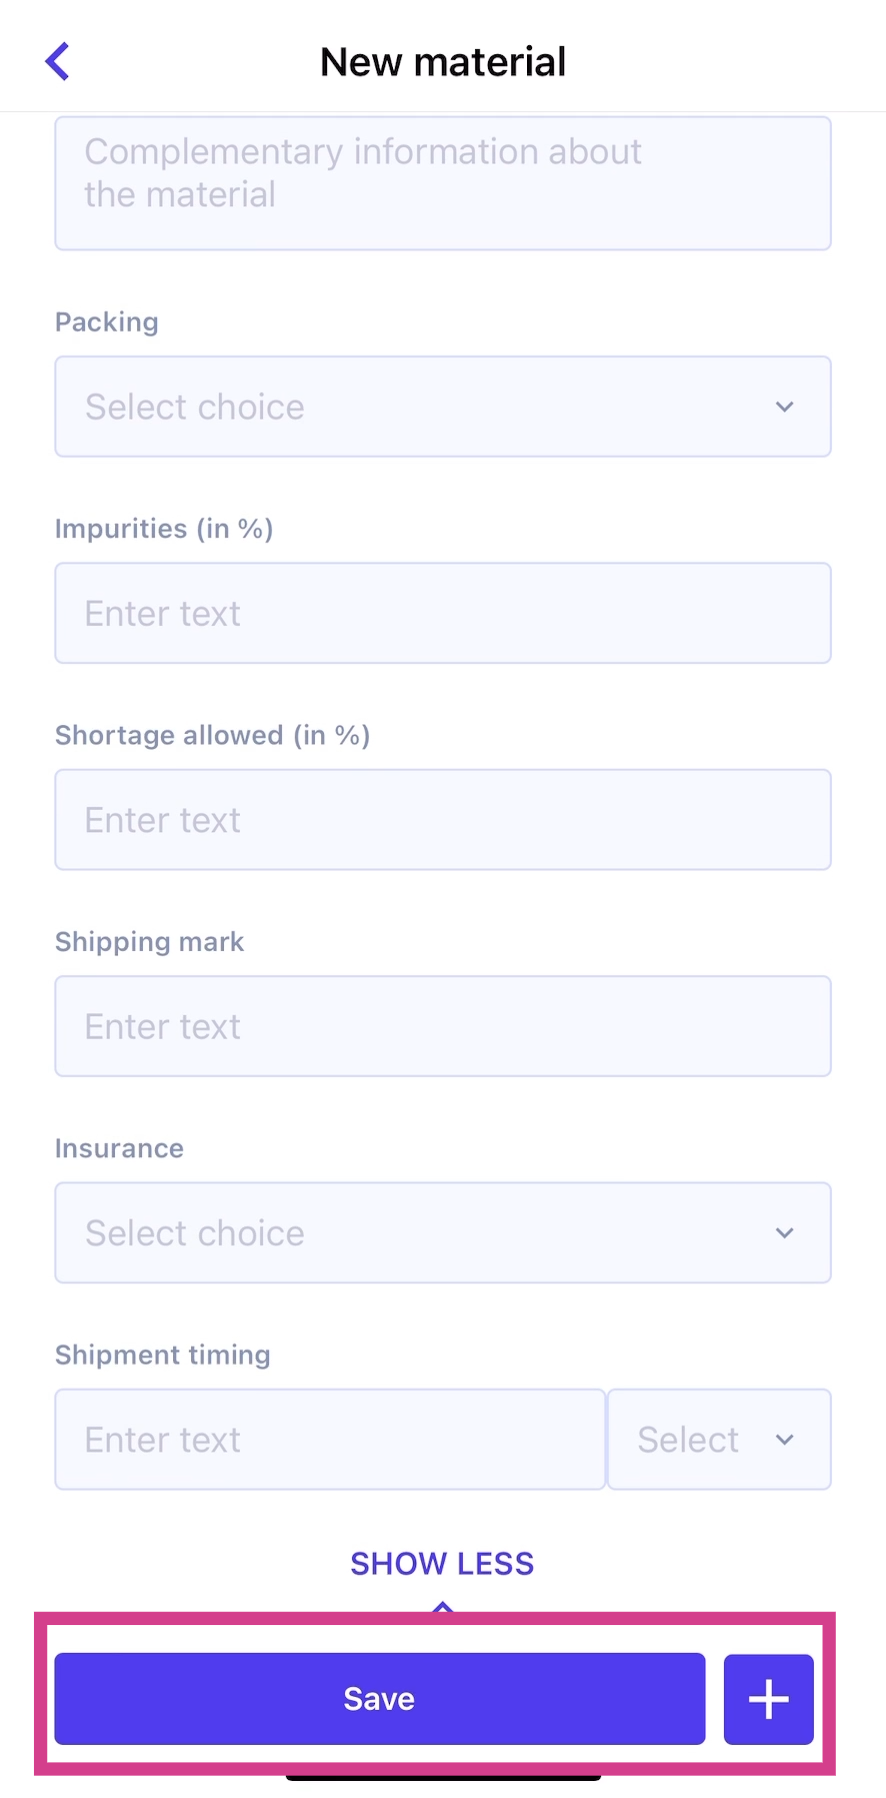
Step 7: After filling in all the details, click on Save.
Finally, send internal notifications:
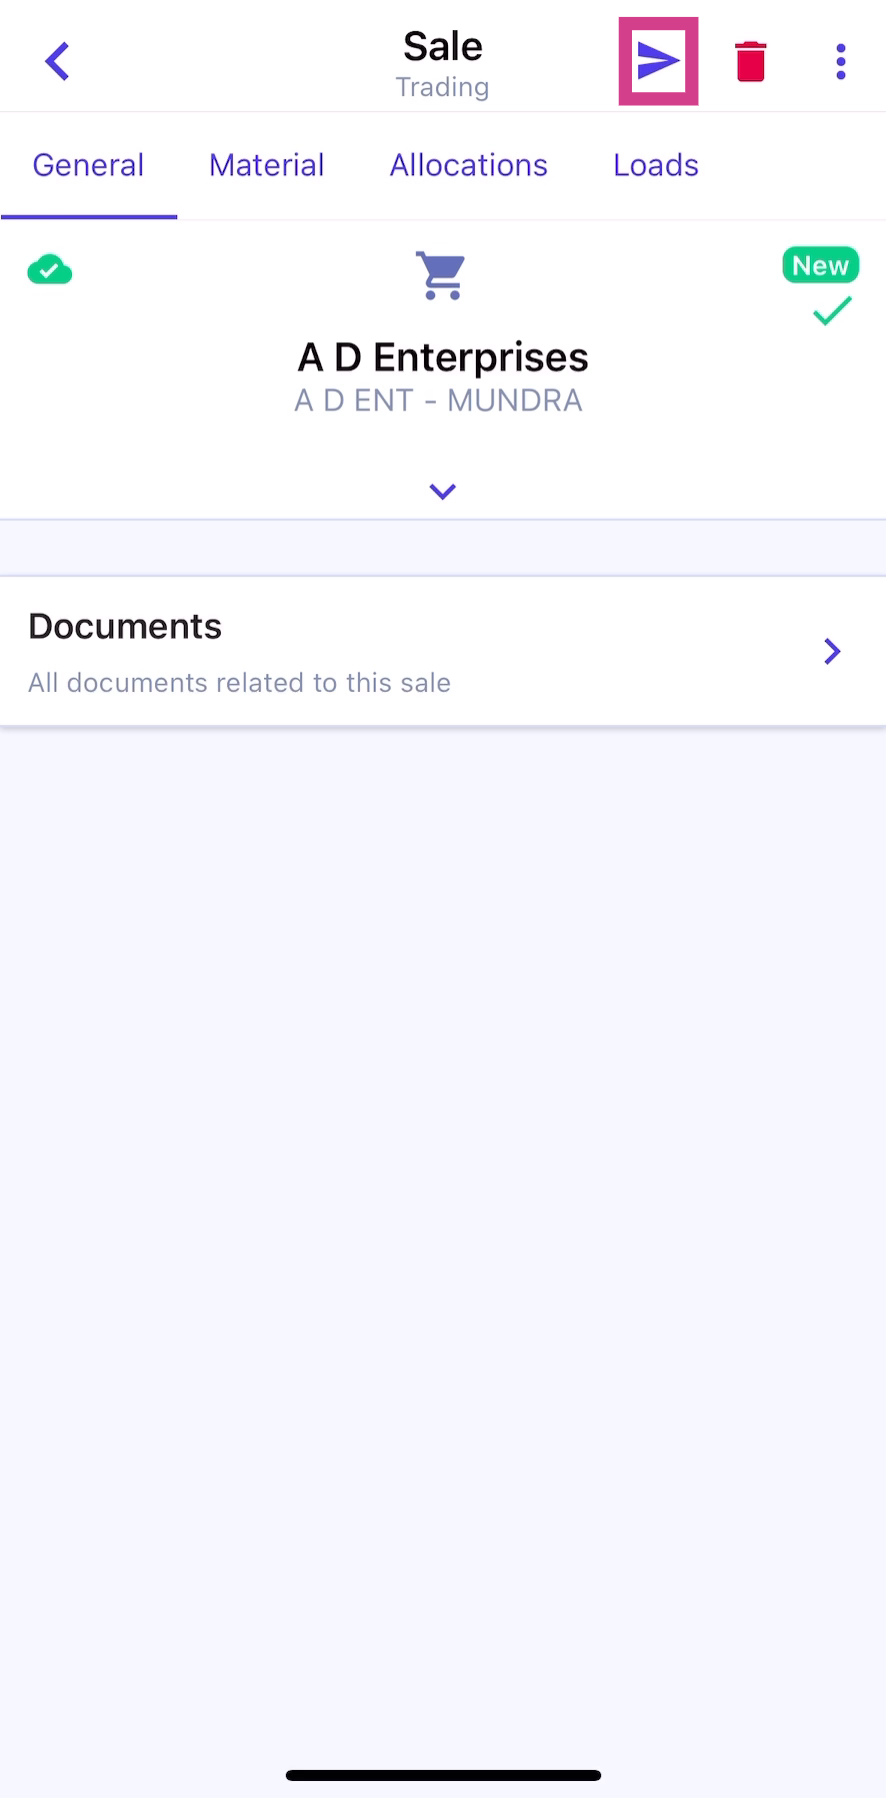
Step 1: Once the sale is successfully created, click on Notify on the top right. Choose the type of internal communication to send.
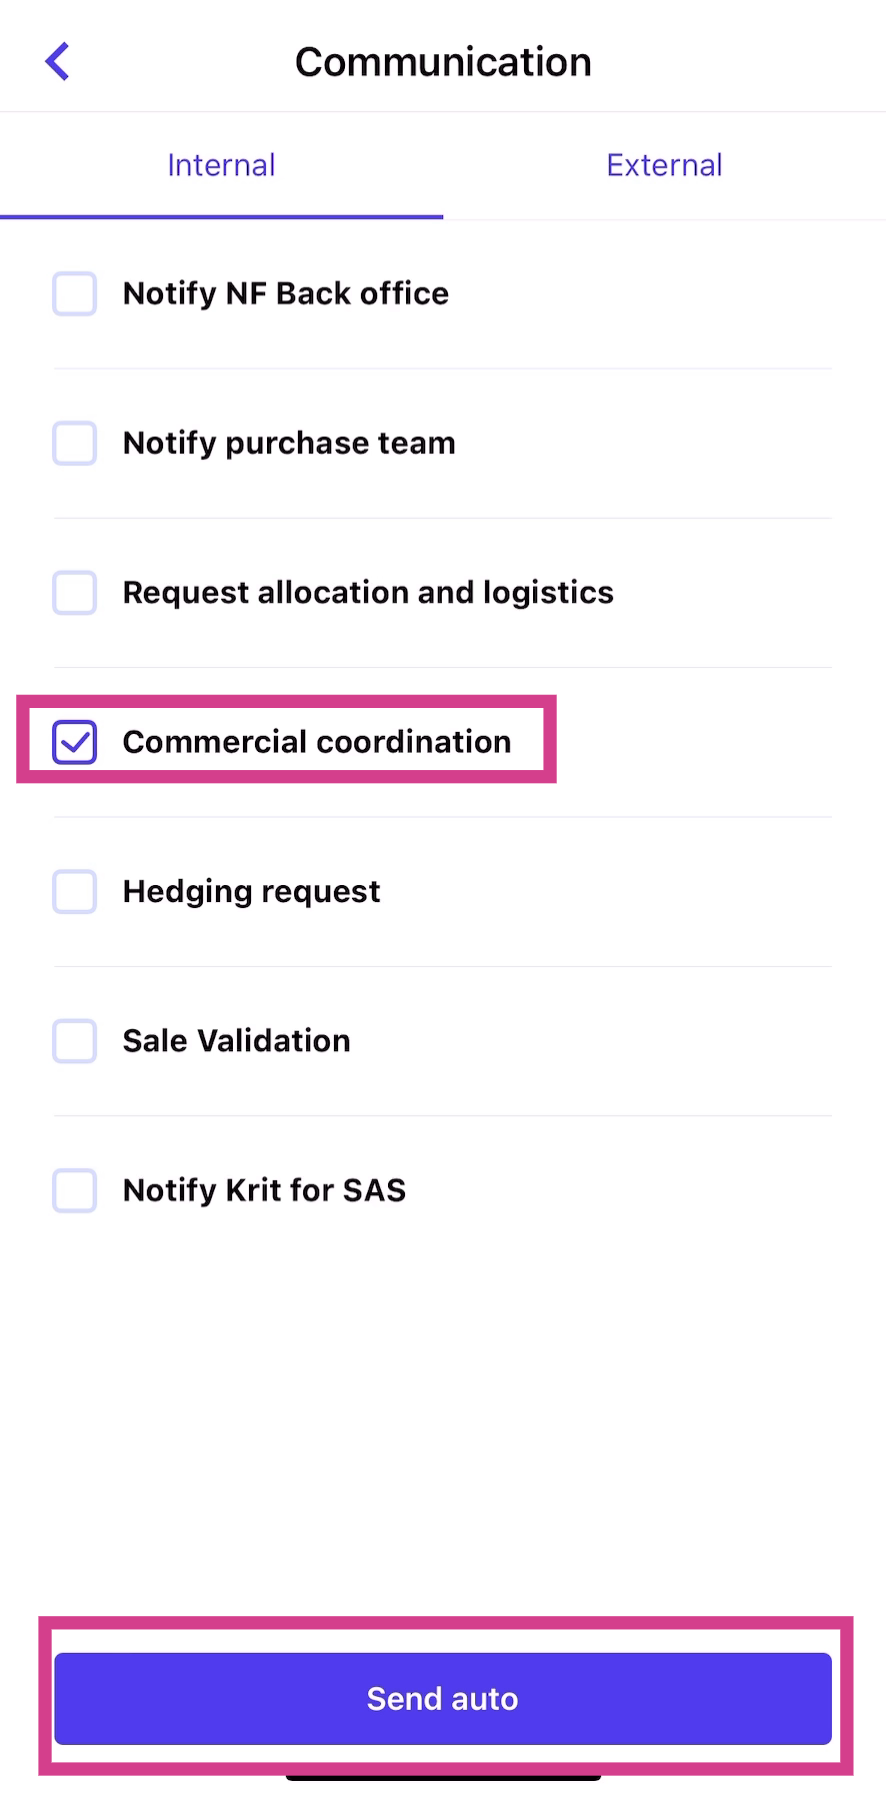
Step 2: For this example, select Commercial Coordination. Then, click on Send Auto.
This concludes the process of creating a sale and sending internal notifications using the Jules mobile app.
Updated on: 28/10/2024
Thank you!