I can allocate an outbound load to multiple sales
In this tutorial, you'll learn how to allocate outbound loads to multiple sales efficiently. By following these steps, you'll ensure accurate allocation and seamless operations.
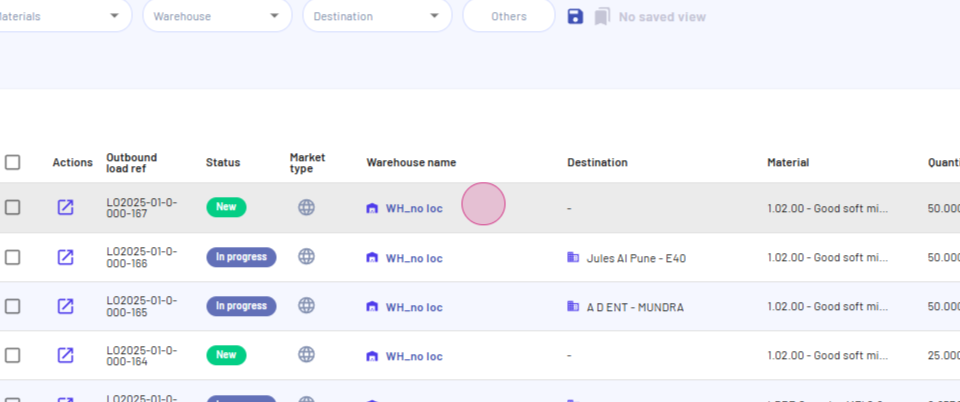
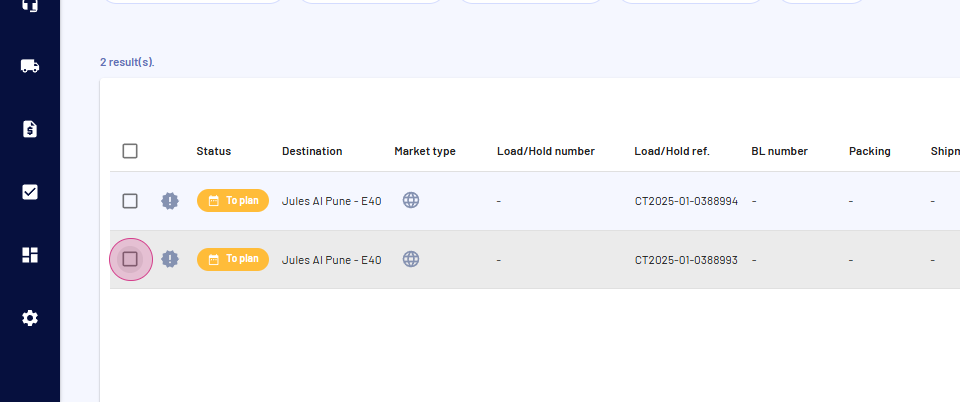
Step 1: Select a load on the Outbound Loads page.
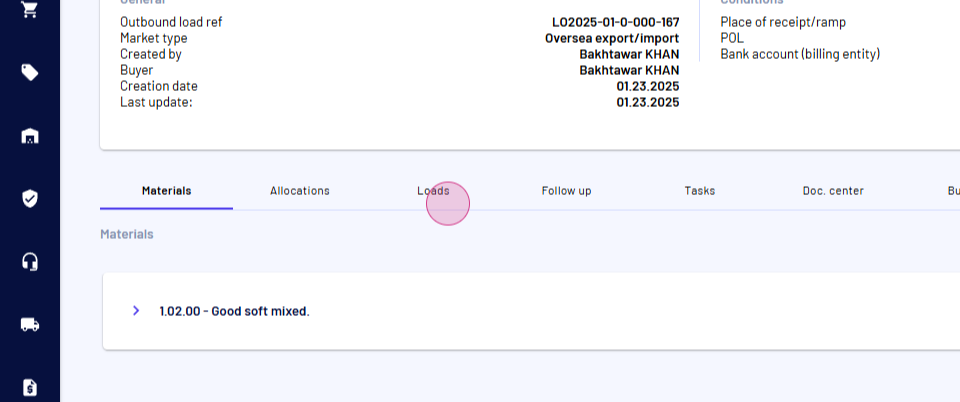
Step 2: Go to the Loads tab.
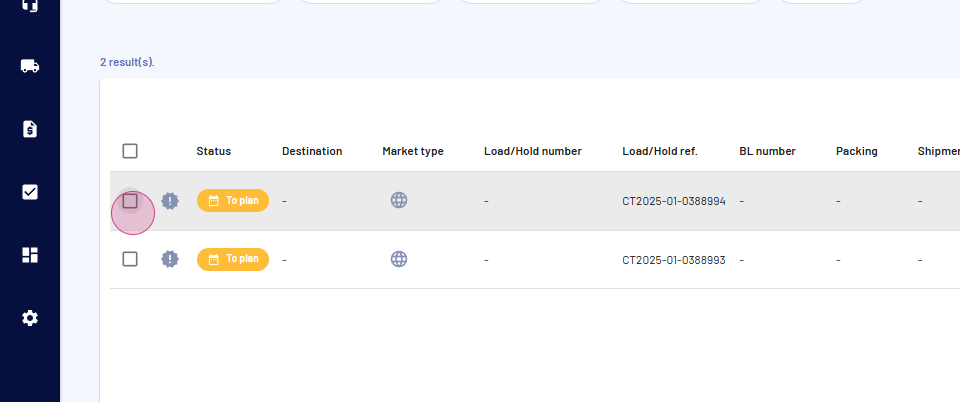
Step 3: Pick one load.
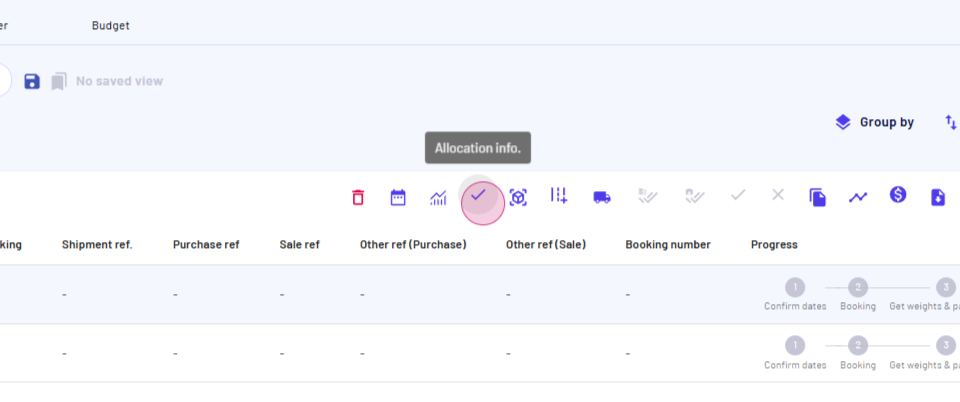
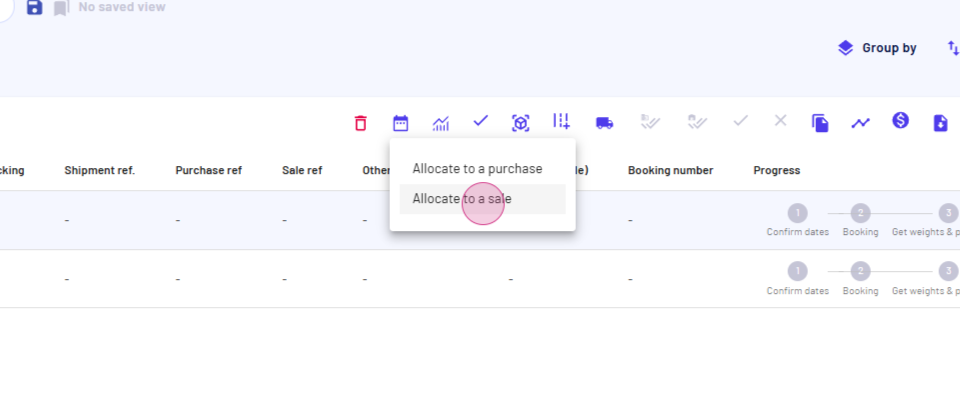
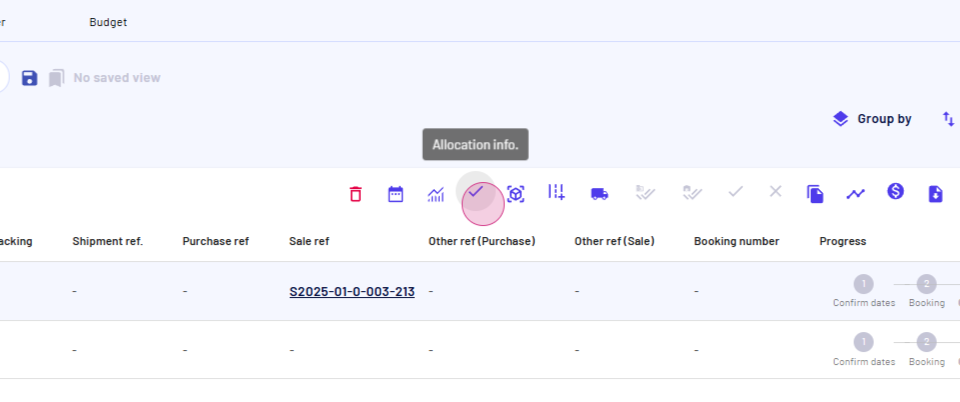
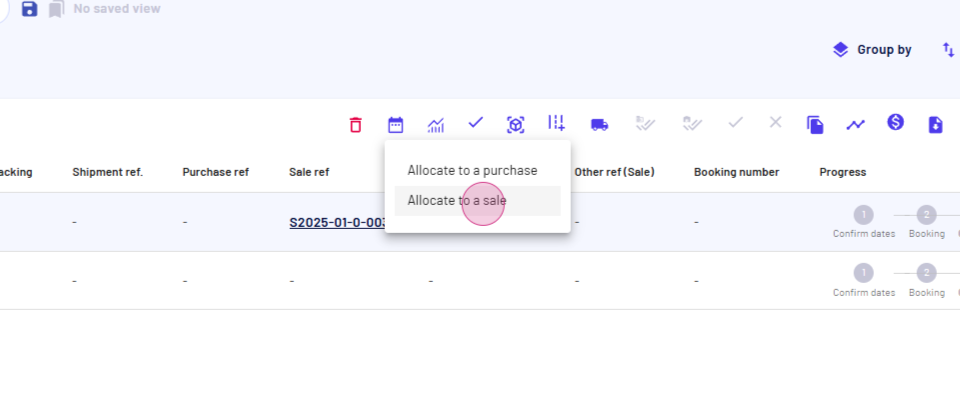
Step 4: Click Allocation info.
Step 5: Choose Allocate to a Sale Here.
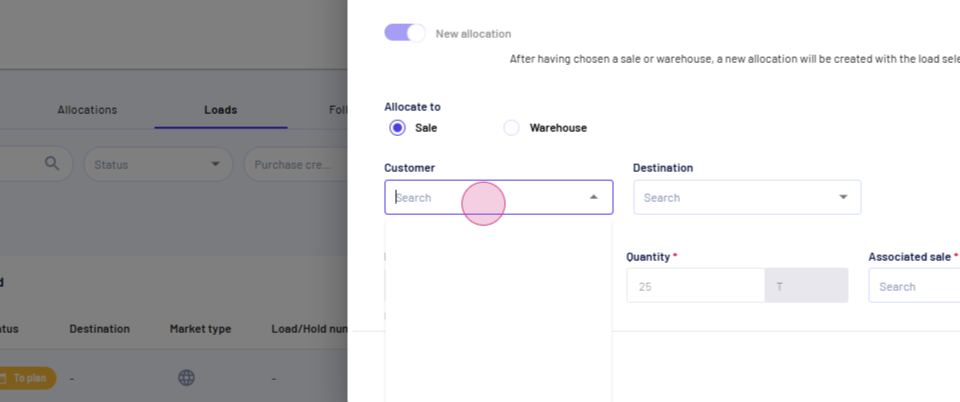
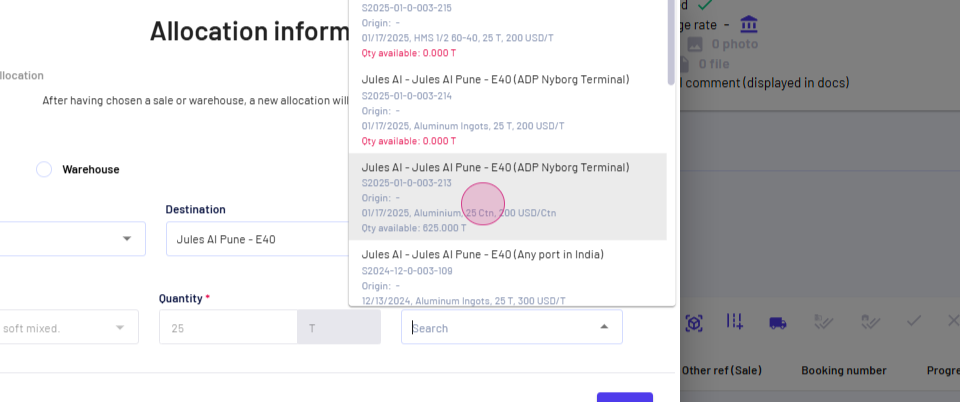
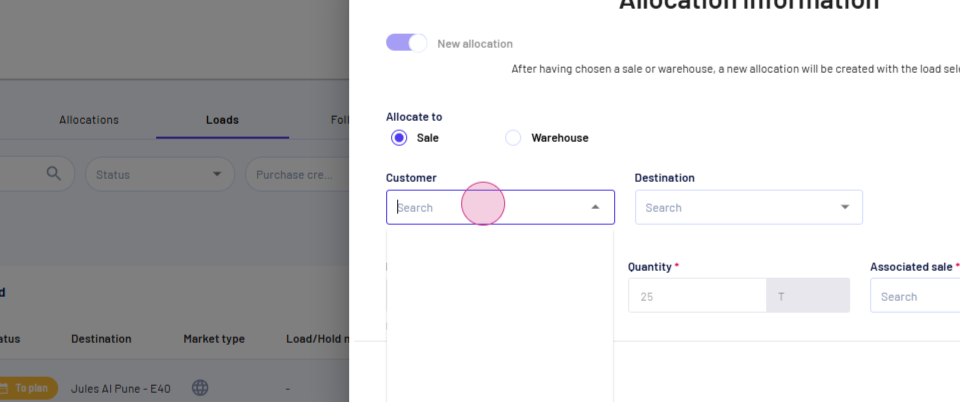
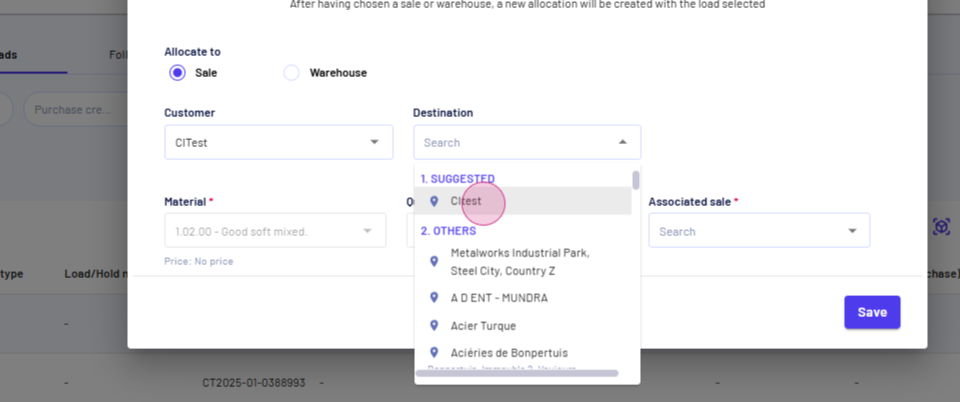
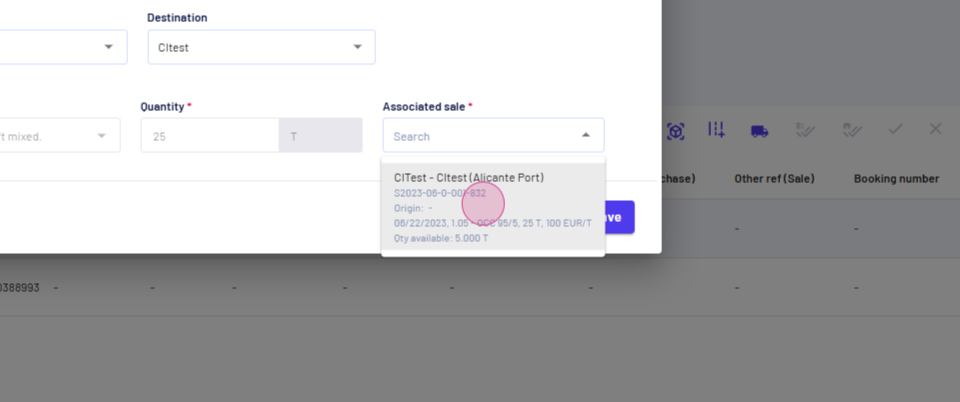
Step 6: Select a customer and their destination. The material and quantity will auto-populate based on the selected load.
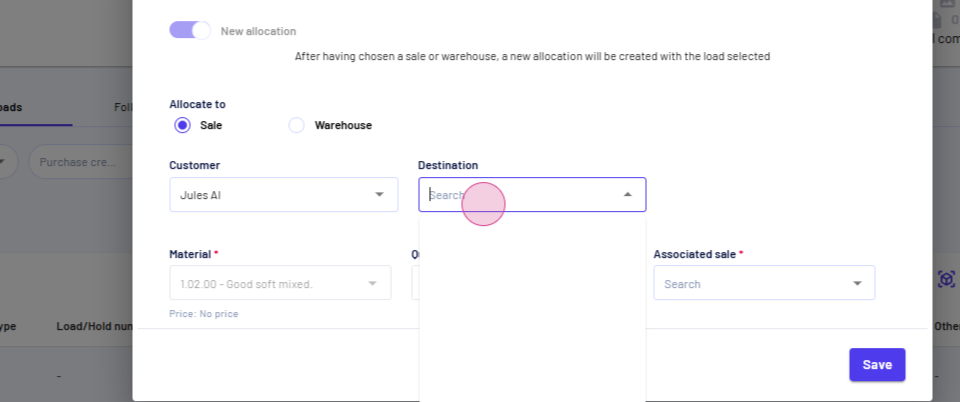
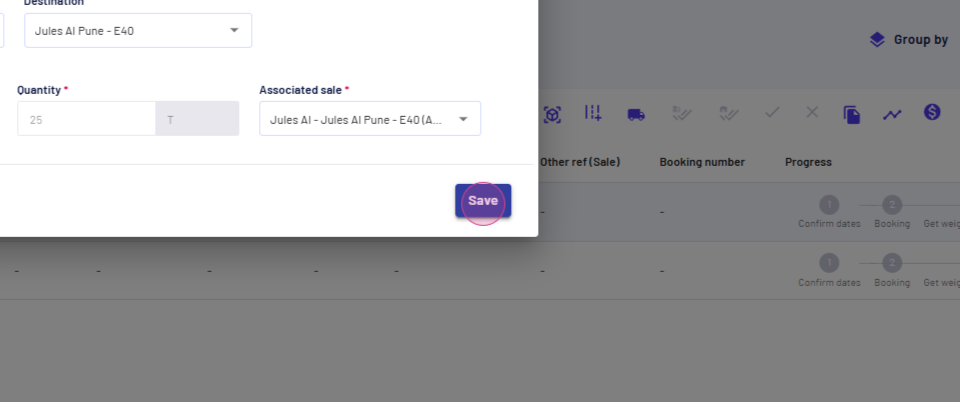
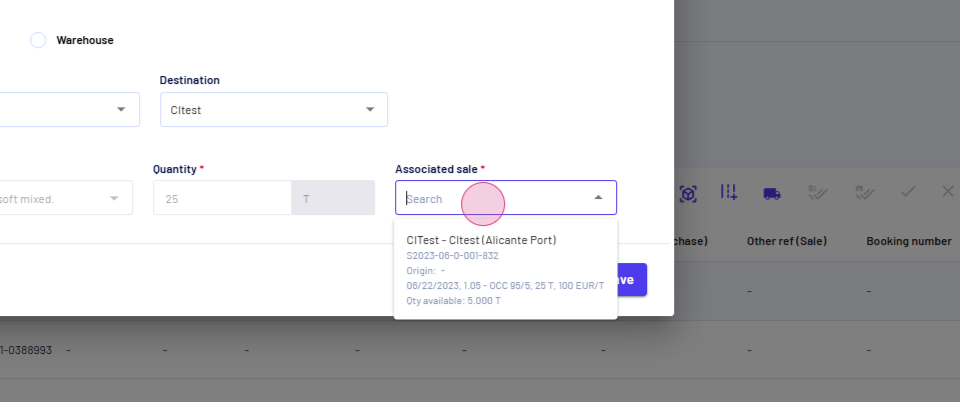
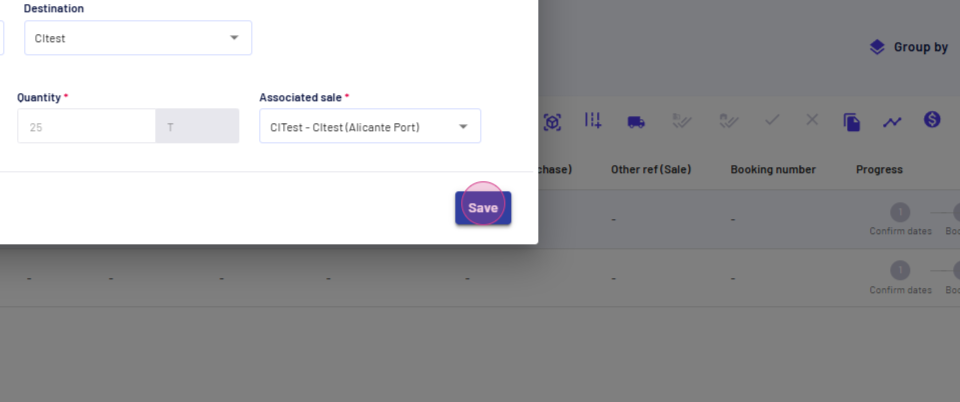
Step 7: Select an associated sale.
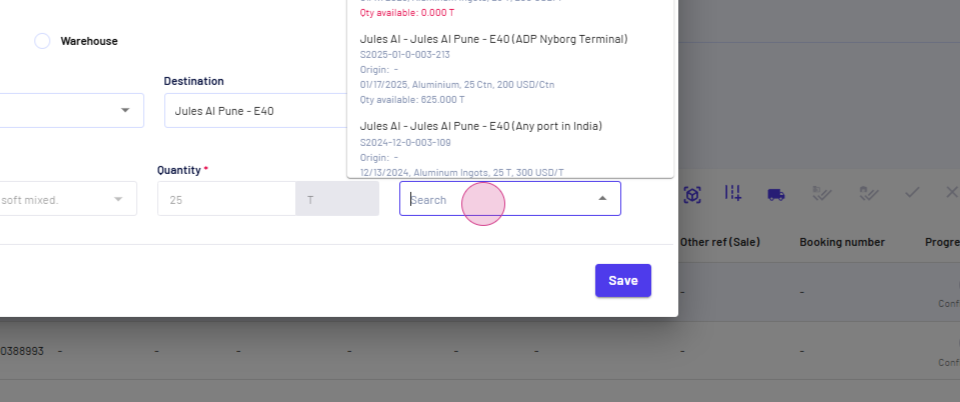
Step 8: Click Save.
You've successfully allocated the first load. Now, let's allocate another load to a different sale.
Step 9: Select the next load.
Step 10: Click Allocate to a Sale.
Step 11: Choose Allocate to a Sale, then select a customer.
Step 12: Pick the customer's destination.
Step 13: Select the associated sale.
Step 14: Click Save.
Congratulations! You've successfully allocated two different loads to two different sales. This completes the process of allocating outbound loads to multiple sales.
Updated on: 23/01/2025
Thank you!