I can add materials to a warehouse and set preferences
This tutorial outlines the steps to add materials to a warehouse and set preferences in Jules.
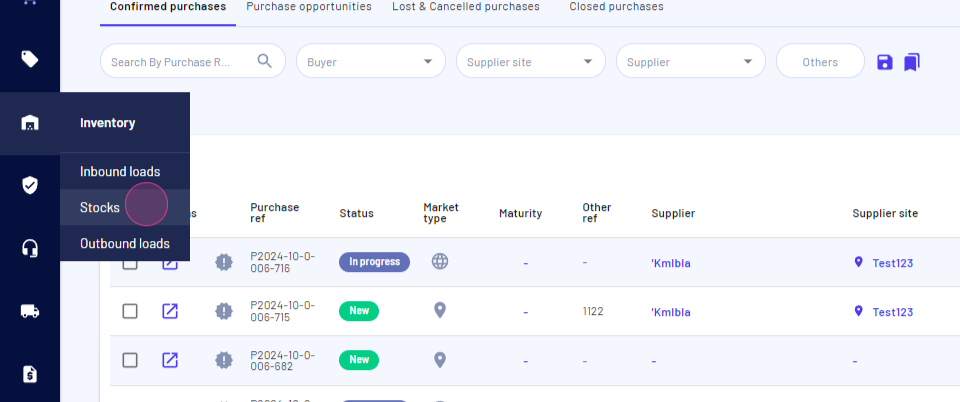
Step 1: Navigate to the Inventory module and select the Stocks page.
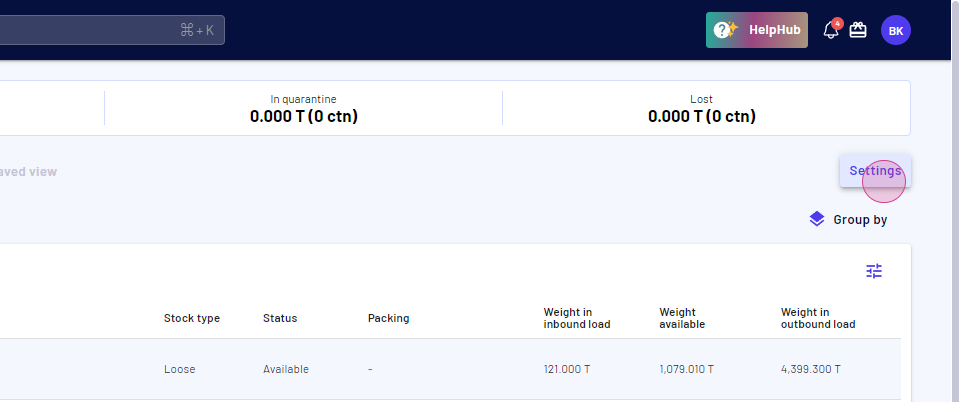
Step 2: Click on Settings.
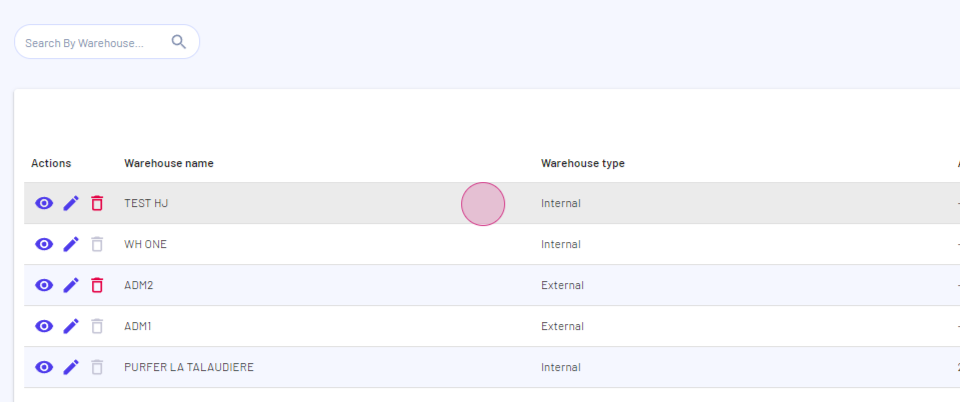
Step 3: Select a Warehouse.
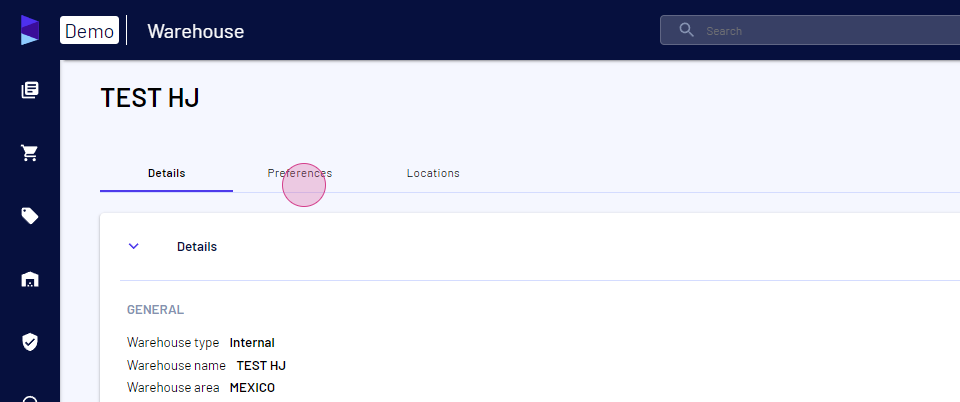
Step 4: Proceed to the Preferences tab.
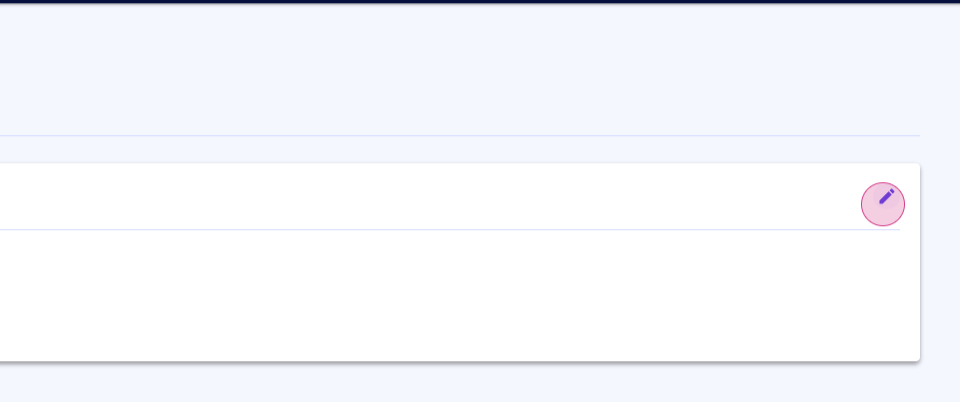
Step 5: Click on the Pencil icon.
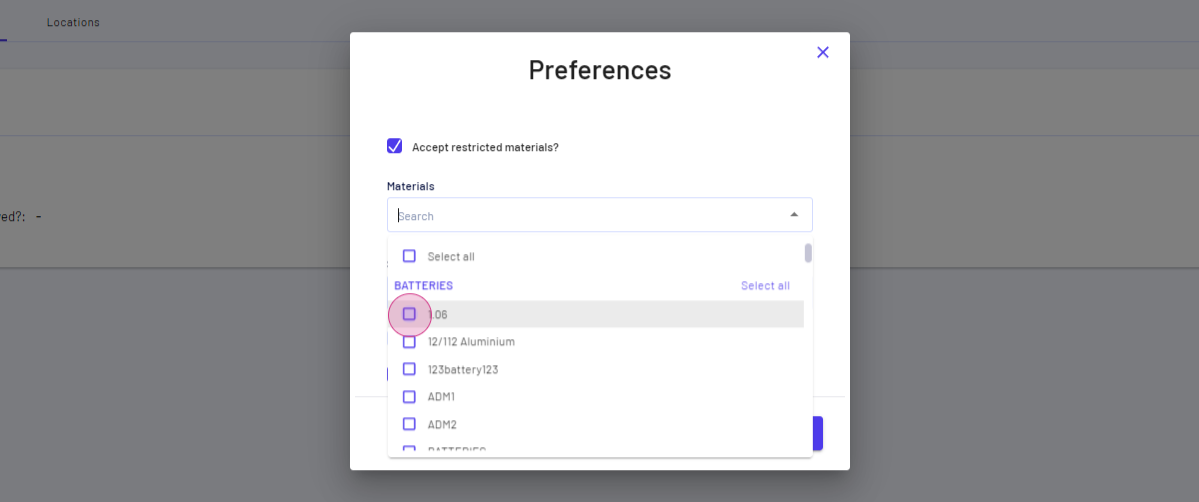
Step 6: Check the box to allow restricted materials in the warehouse.

Step 7: Select the materials to restrict.
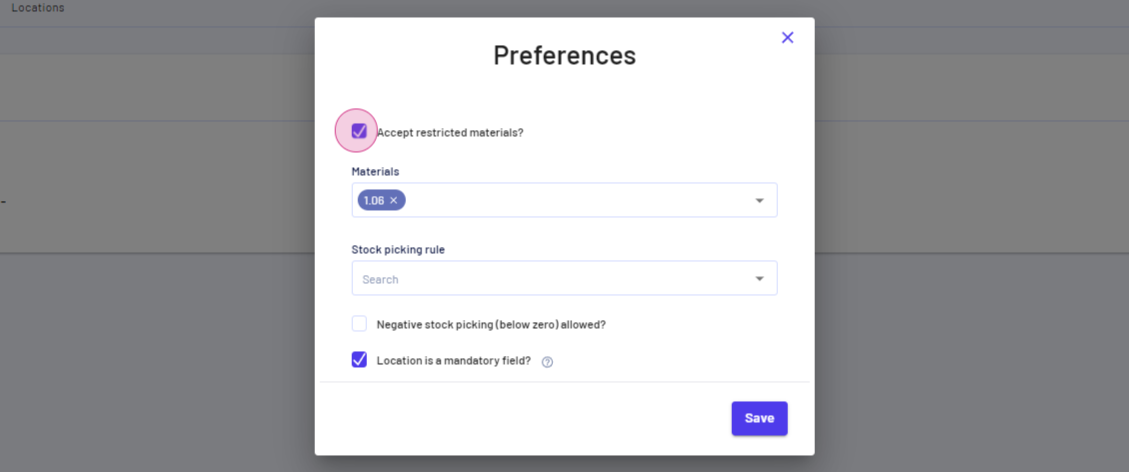
Step 8: If all materials are accepted in the warehouse, deselect the checkbox.
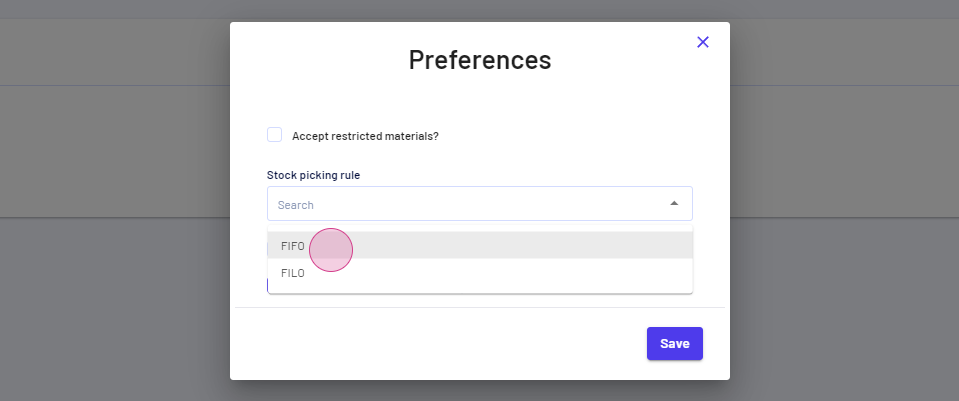
Step 9: Select a stock picking rule. Choose between First In First Out and First In Last Out. For this example, select First In First Out.
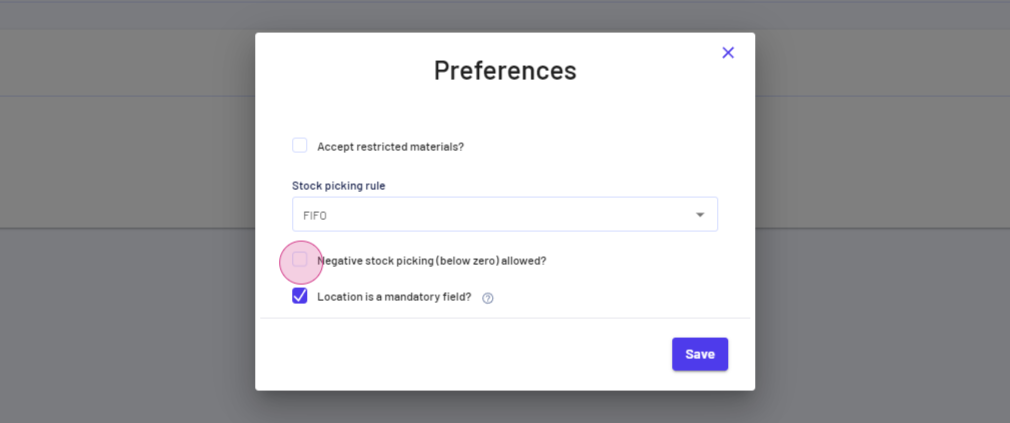
Step 10: Check the box to allow negative stock picking below zero.
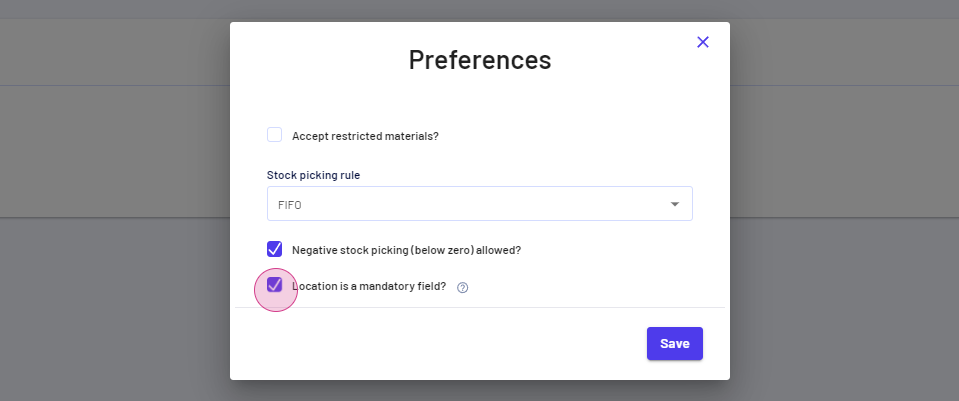
Step 11: If the location field is mandatory while selecting a warehouse, select or deselect the checkbox.
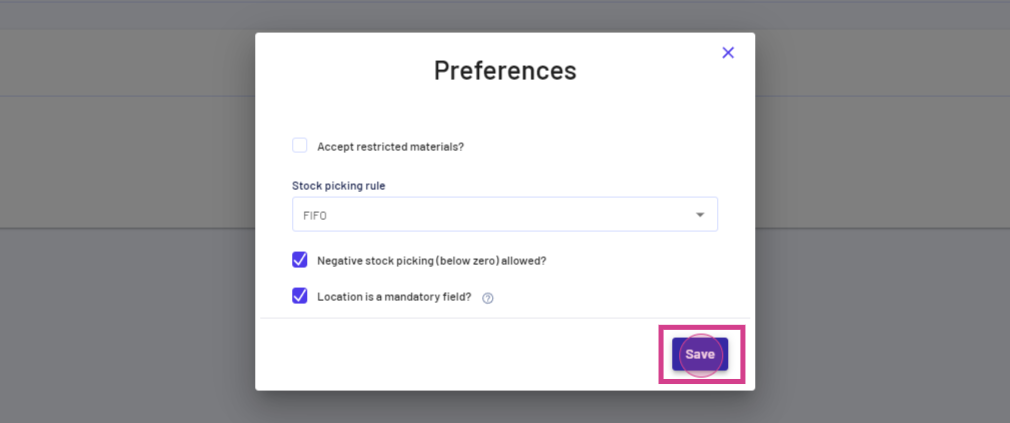
Step 12: After filling in all the details, click on Save.
This concludes the tutorial on adding materials to a warehouse and setting preferences in Jules.
Updated on: 28/10/2024
Thank you!