I can add and manage providers
Learn how to create new providers in Jules.
Creating Providers from the Admin Panel
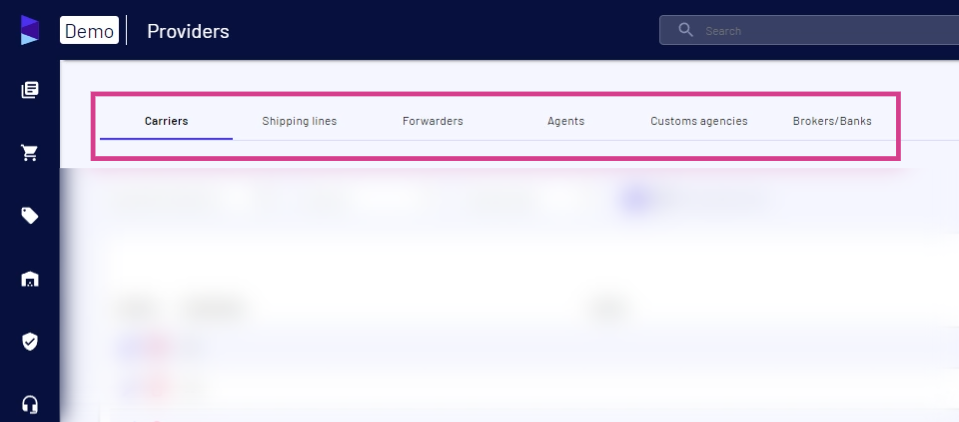
Step 1: Navigate to the admin panel and select providers.
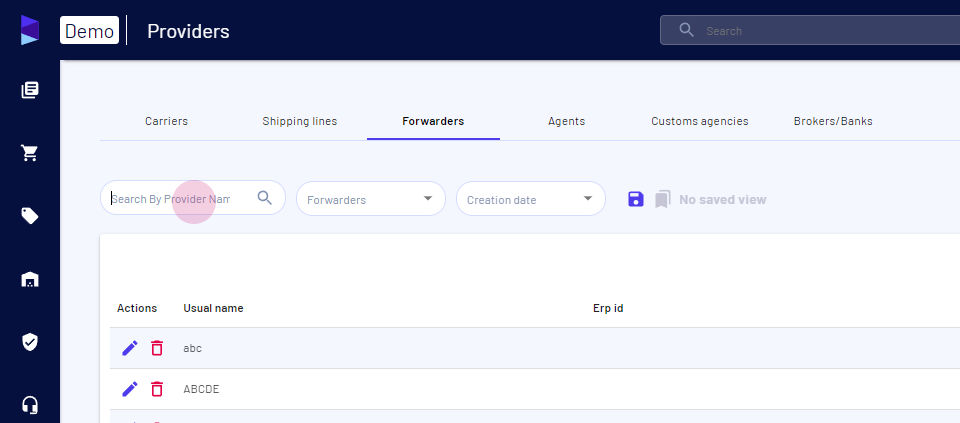
Step 2: View all providers, categorized as carriers, shipping lines, forwarders, agents, customs agency agencies, brokers, and banks.
Step 3: Select forwarders.
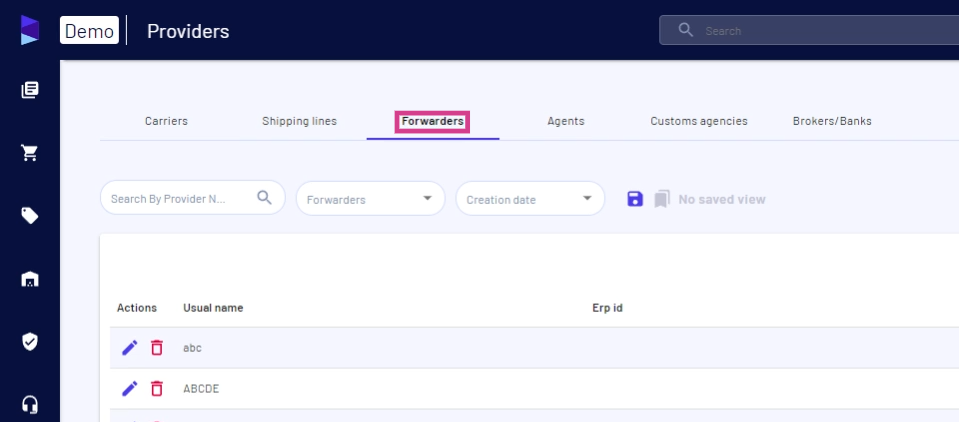
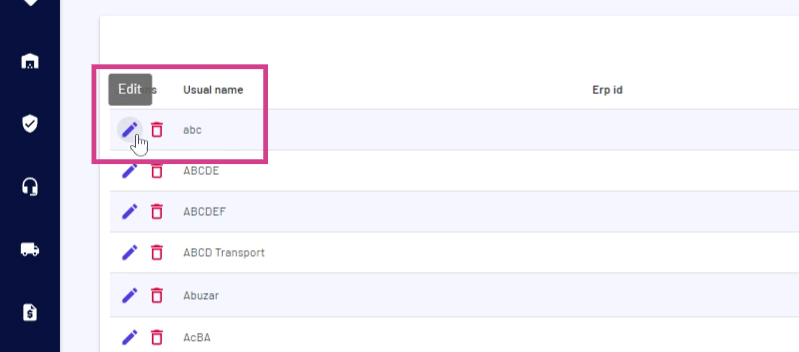
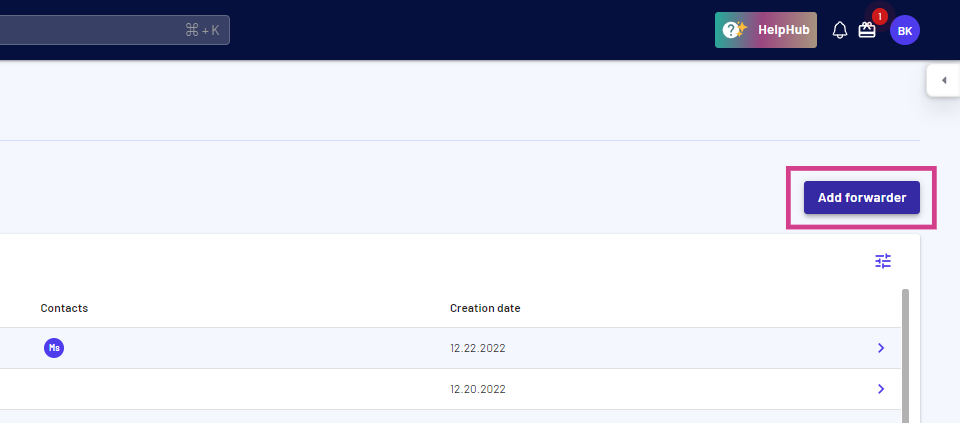
Step 4: View all the forwarders currently listed in Jules. Edit or delete them by clicking the pencil or delete icon respectively.
Step 5: Click on add to add a new forwarder.
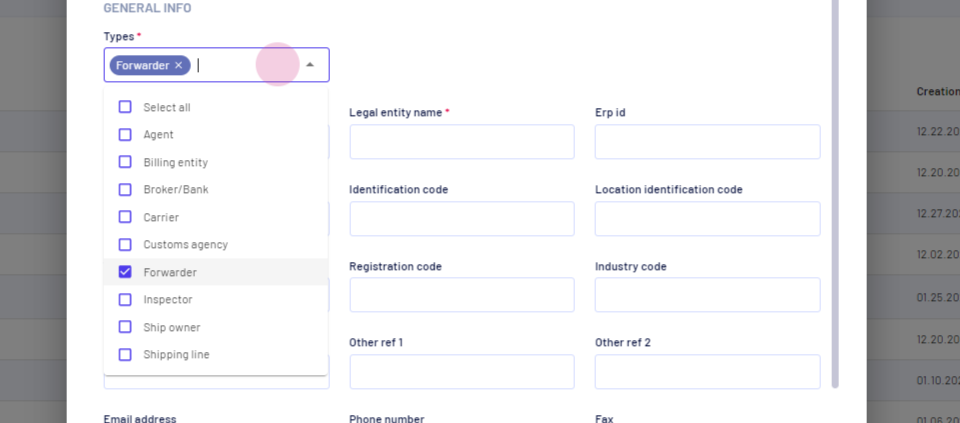
Step 6: A drop-down menu appears. Select the type of forwarder to create.
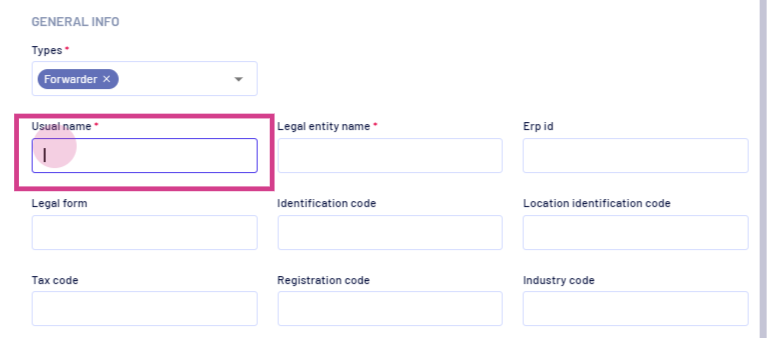
Step 7: Provide a name for the forwarder.
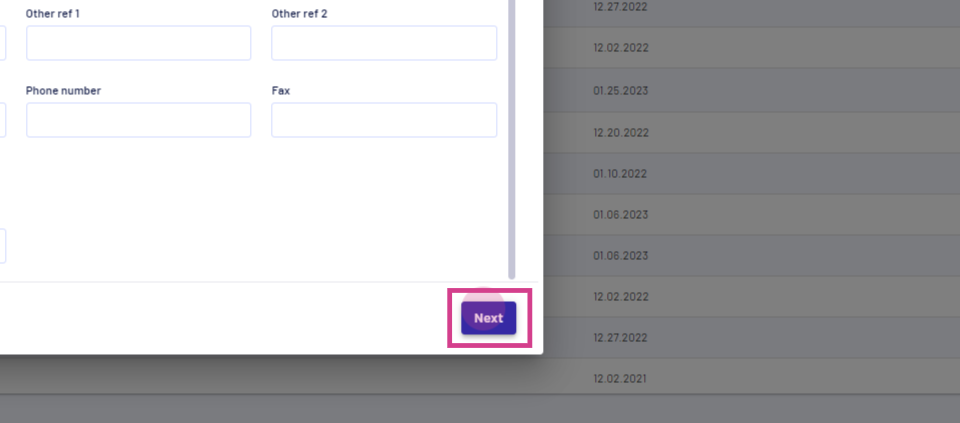
Step 8: After filling in all necessary details, click next.
Step 9: Populate your billing address, bank details, and bank address on the next page.
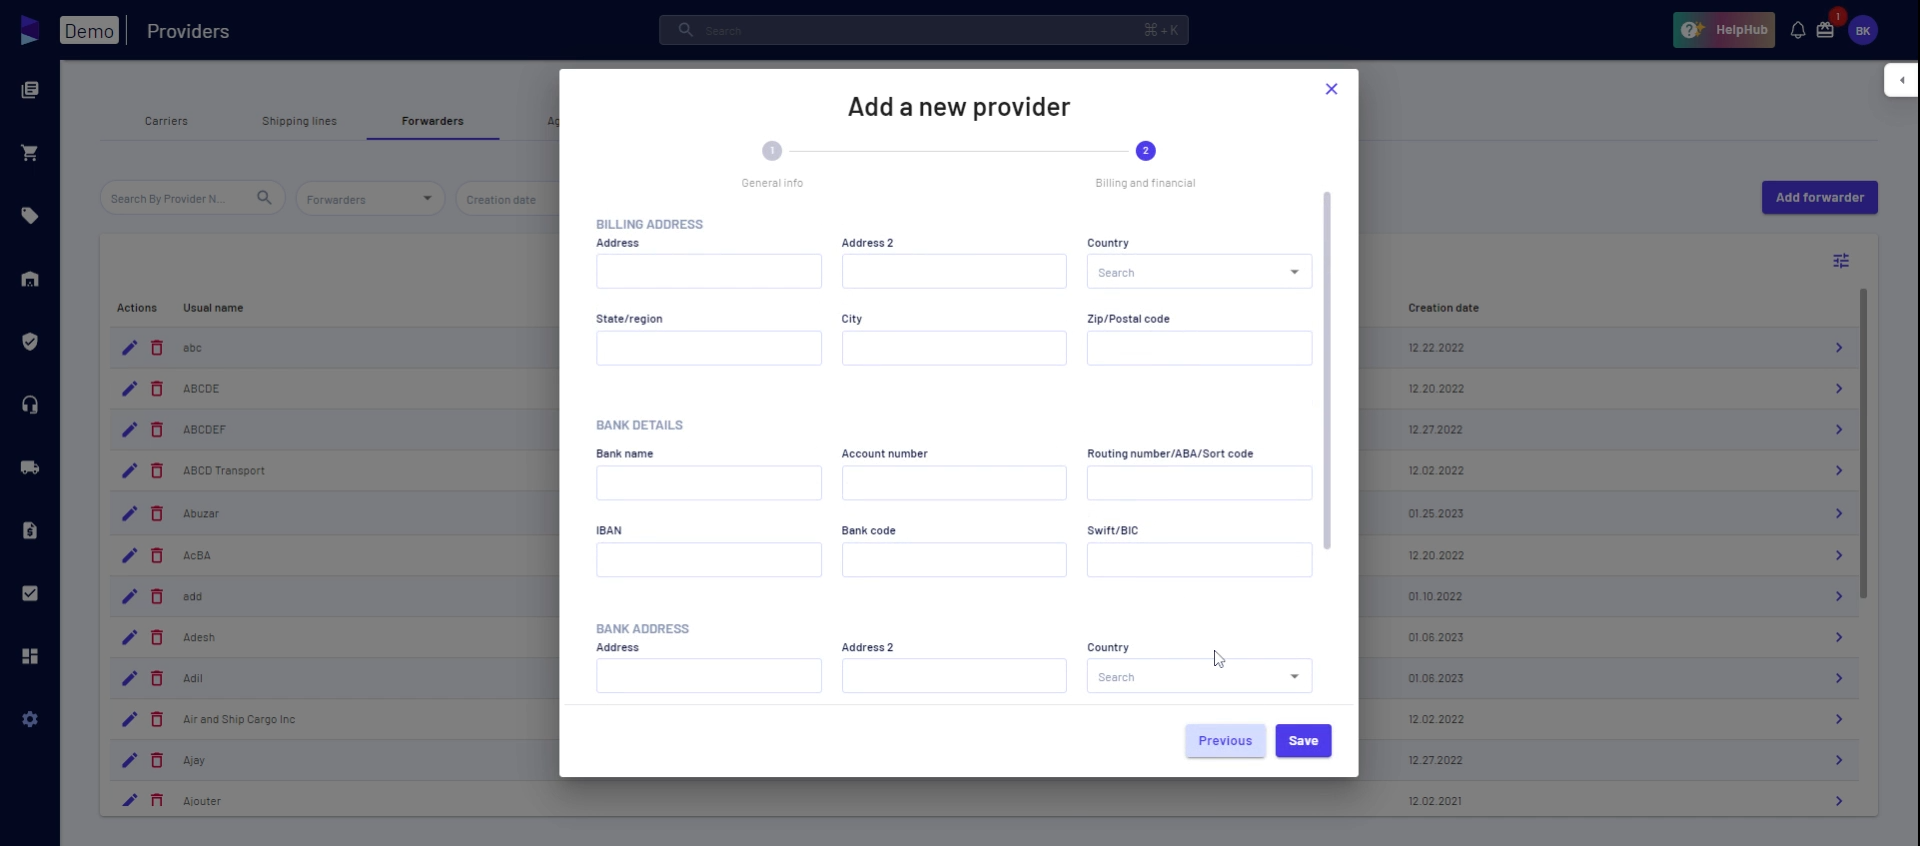
Step 10: Click save to save the new provider.

Step 11: Verify the creation of the new provider by searching for it.
Step 12: The new forwarder appears in the search results.

Creating Providers from the Shipments Page
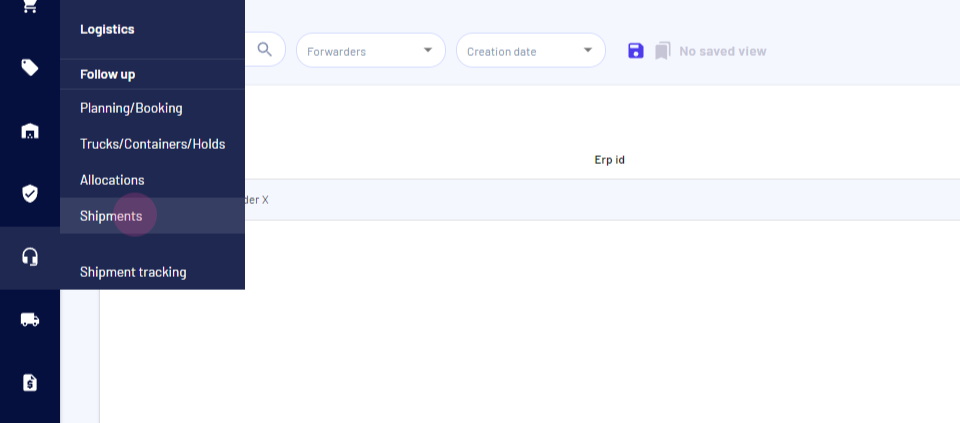
Step 1: Navigate to the shipments page.
Step 2: Select a shipment.

Step 3: Click on containers.

Step 4: Select a container.
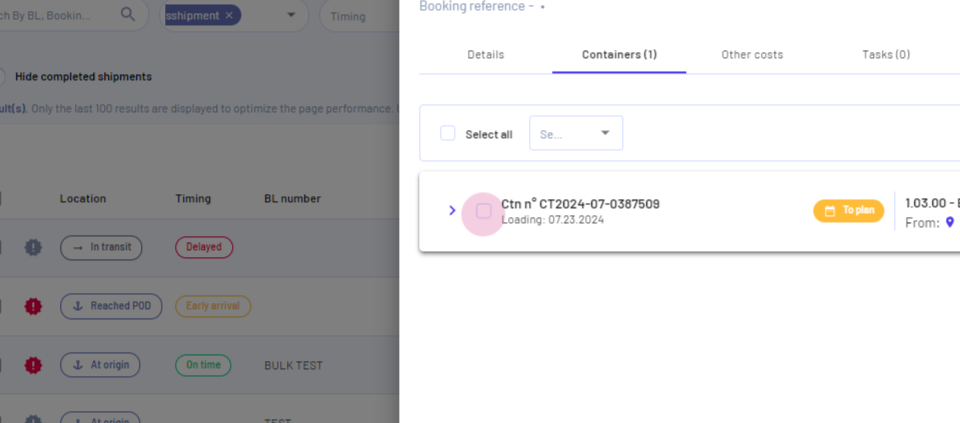
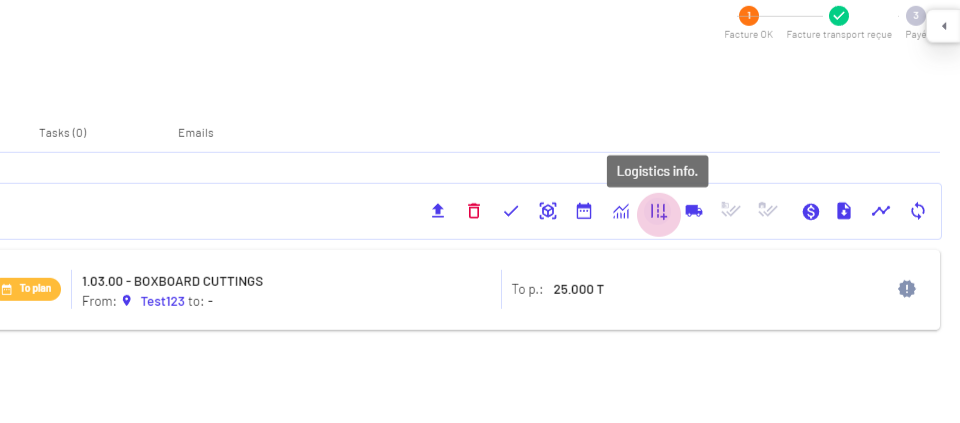
Step 5: Click on logistics information.
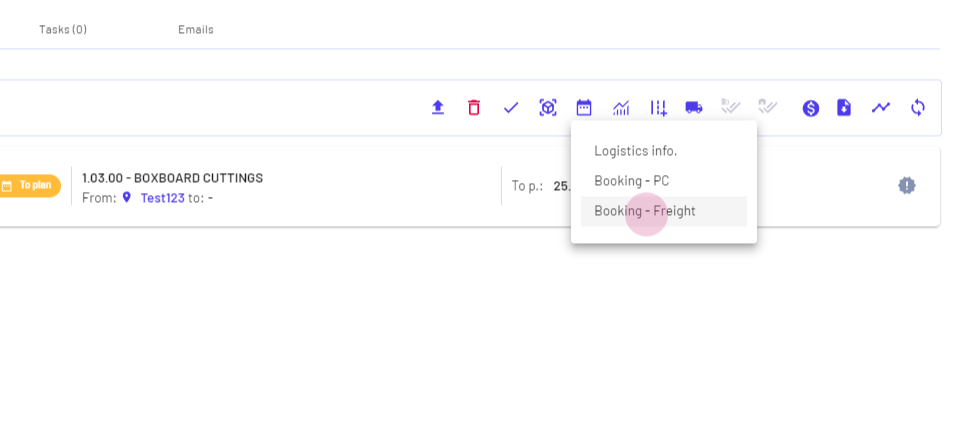
Step 6: Select booking freight.
Step 7: Select the booking reference and click next.

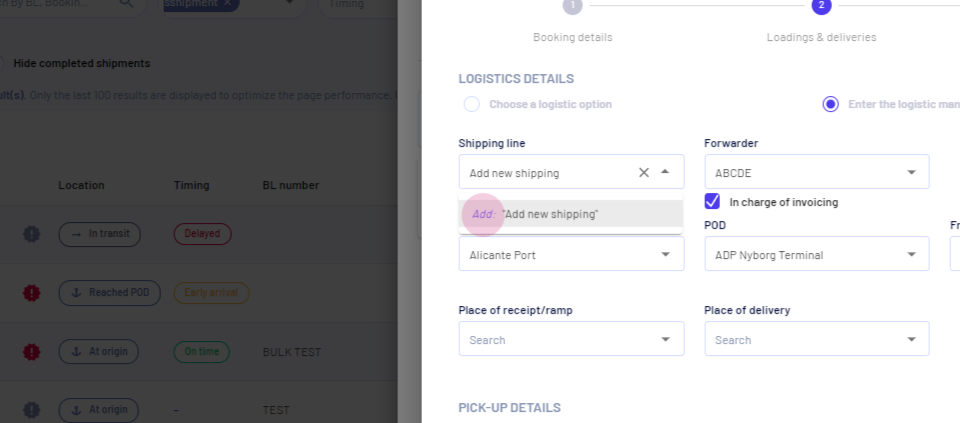
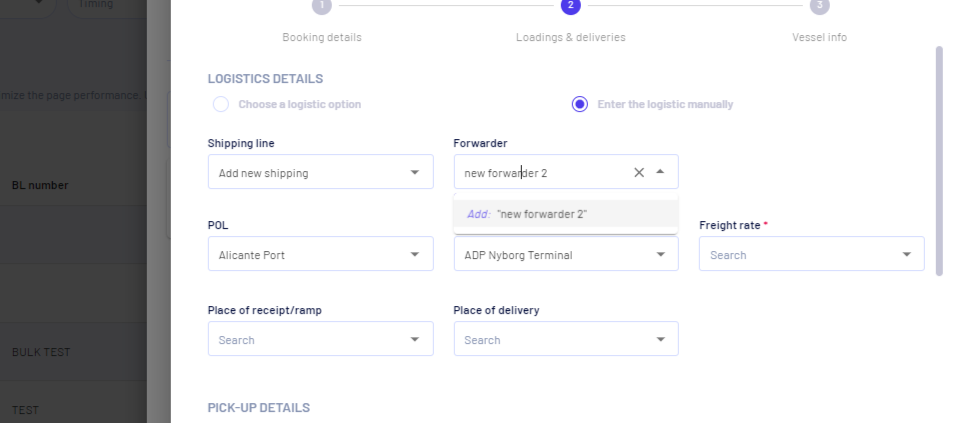
Step 8: Options to select a shipping line and a forwarder appear. Type the name of the new shipping line and click on add.
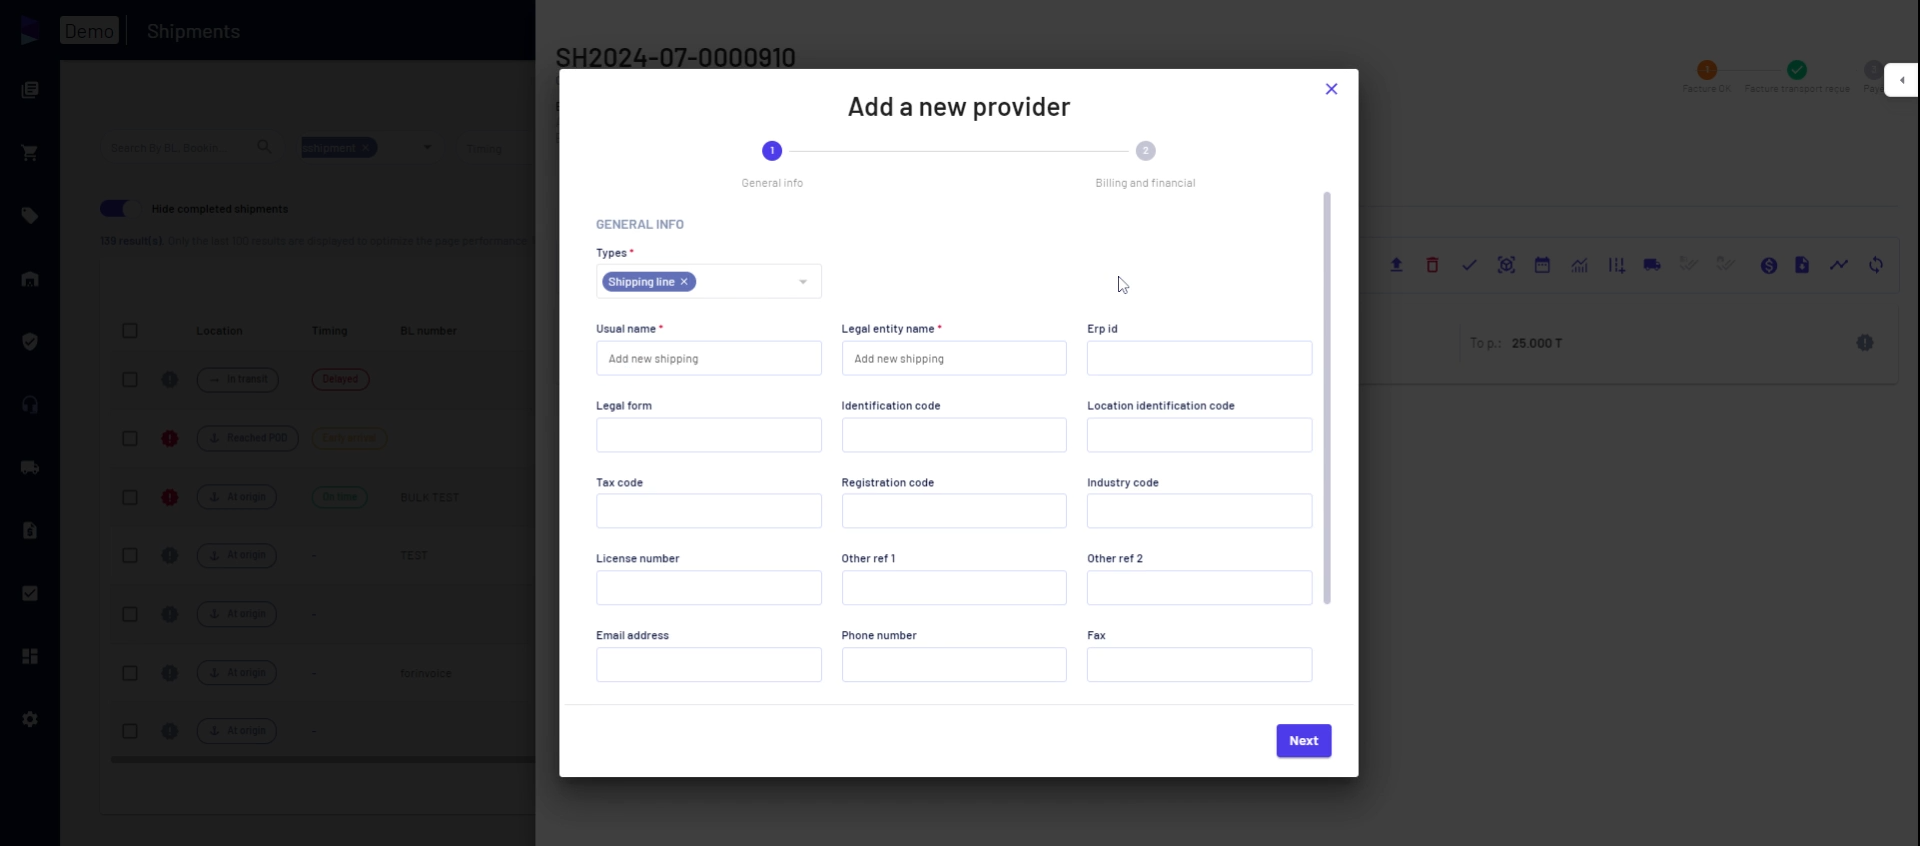
Step 9: Click add to open the same form for adding a new provider.
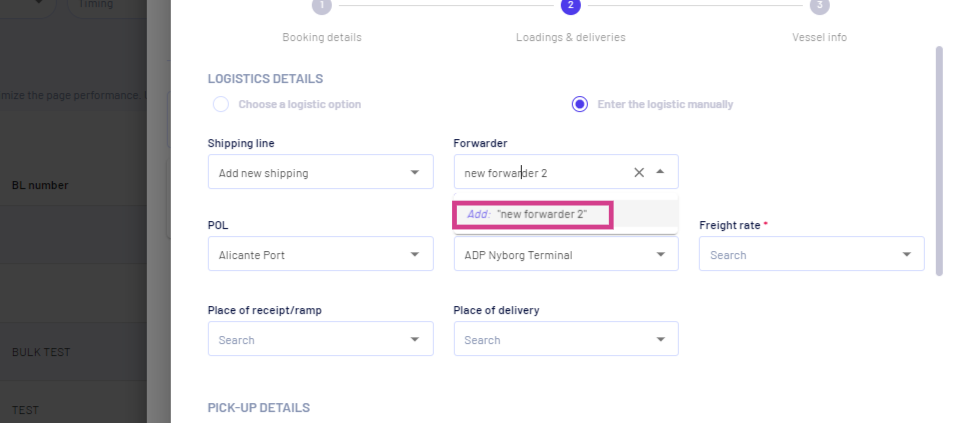
Step 10: Create a new provider directly within this flow. The same process applies when creating a new forwarder. Click on the field for forwarders and type the name of the new forwarder.
Step 11: Click the Add me button.
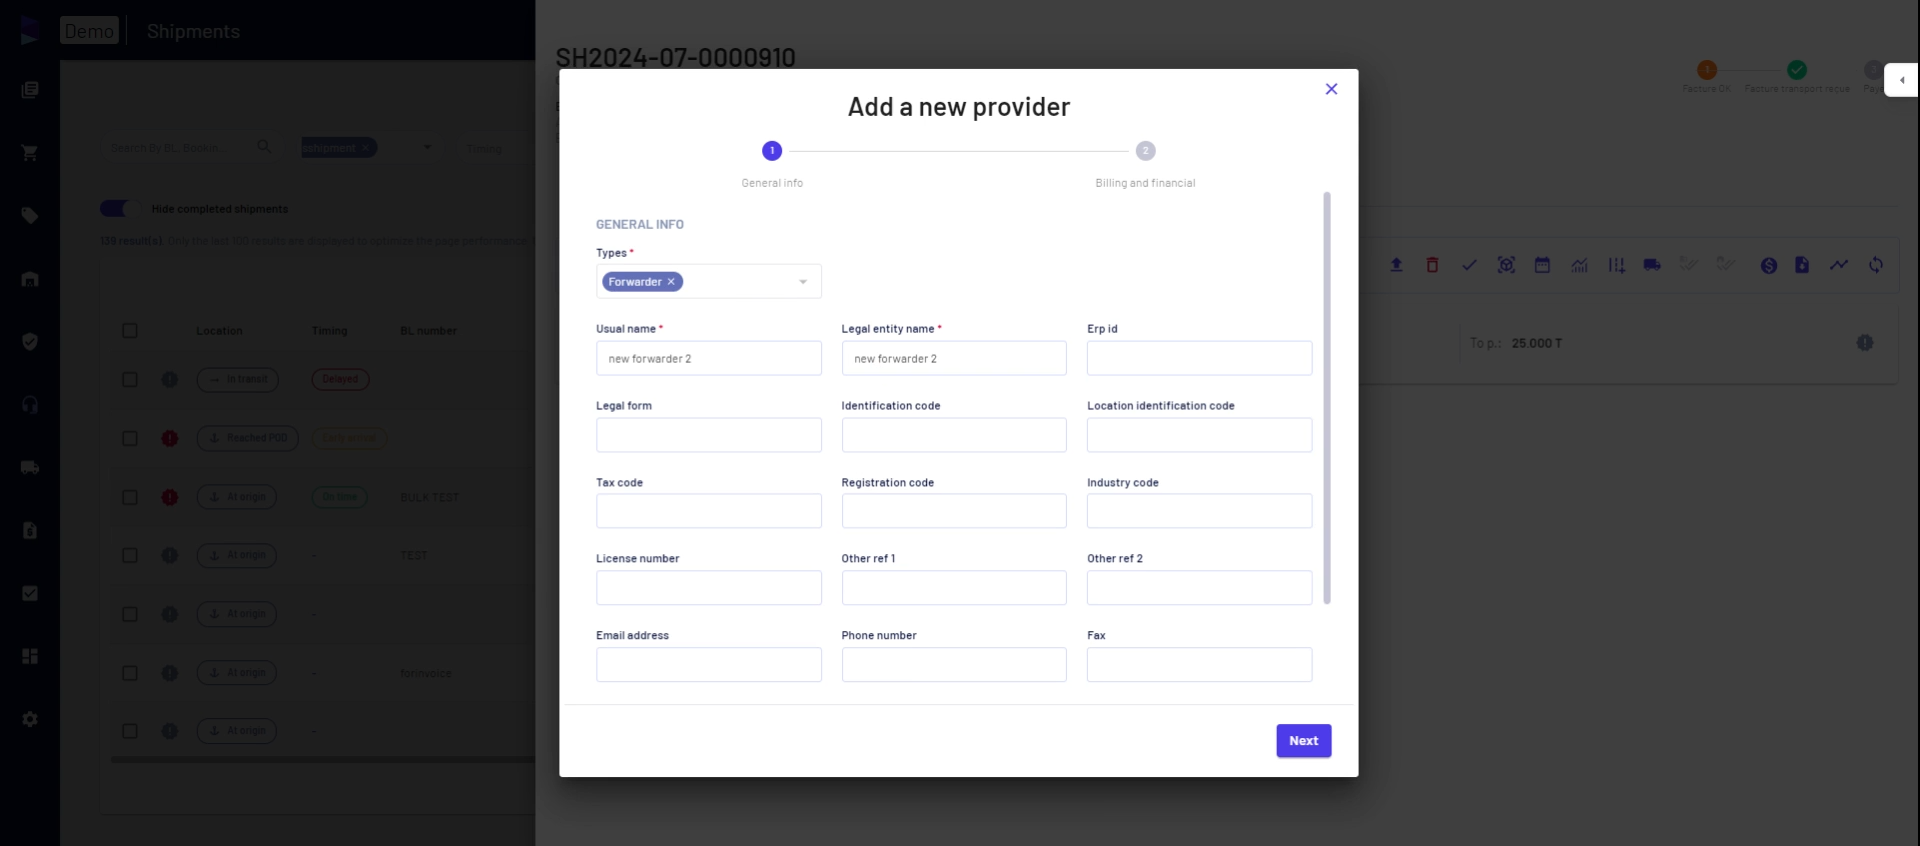
Step 12: The same form for creating a new provider appears. This concludes the process of creating new providers in Jules.
Updated on: 21/08/2024
Thank you!