Creating a supplier (buy from) or customer (sell to)
This guide provides a step-by-step process on creating suppliers and customers in the Jules App.
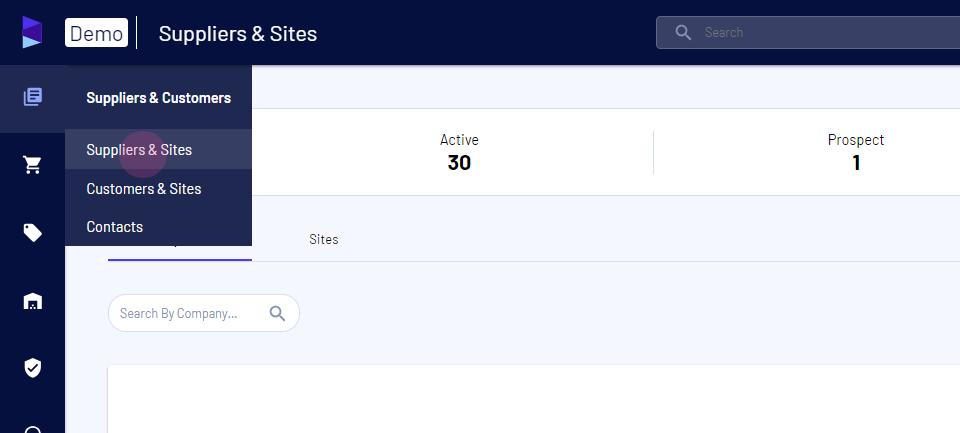
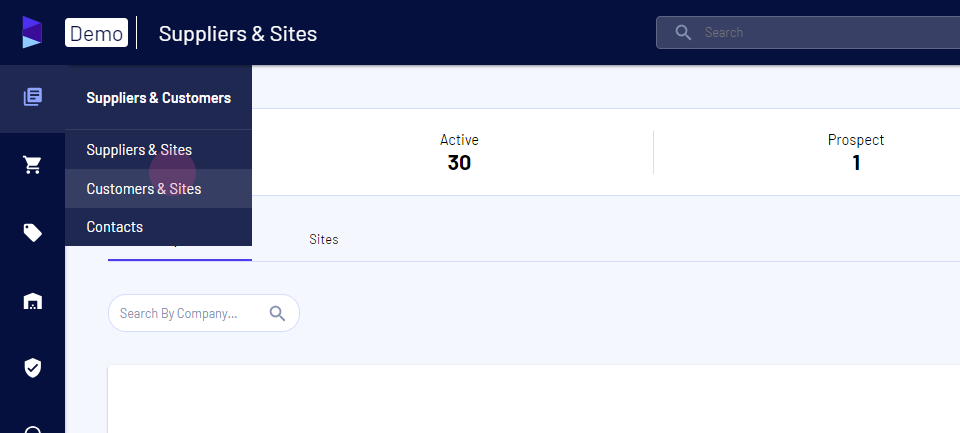
Step 1: Select the Supplier and Customer module. Then, choose either Suppliers or Customers.
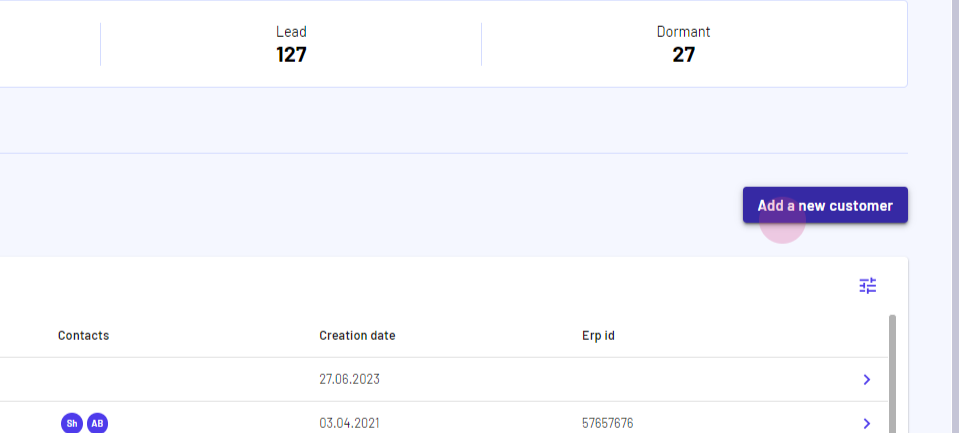
Step 2: Click on the option to add a new customer or a new supplier. A form will appear.
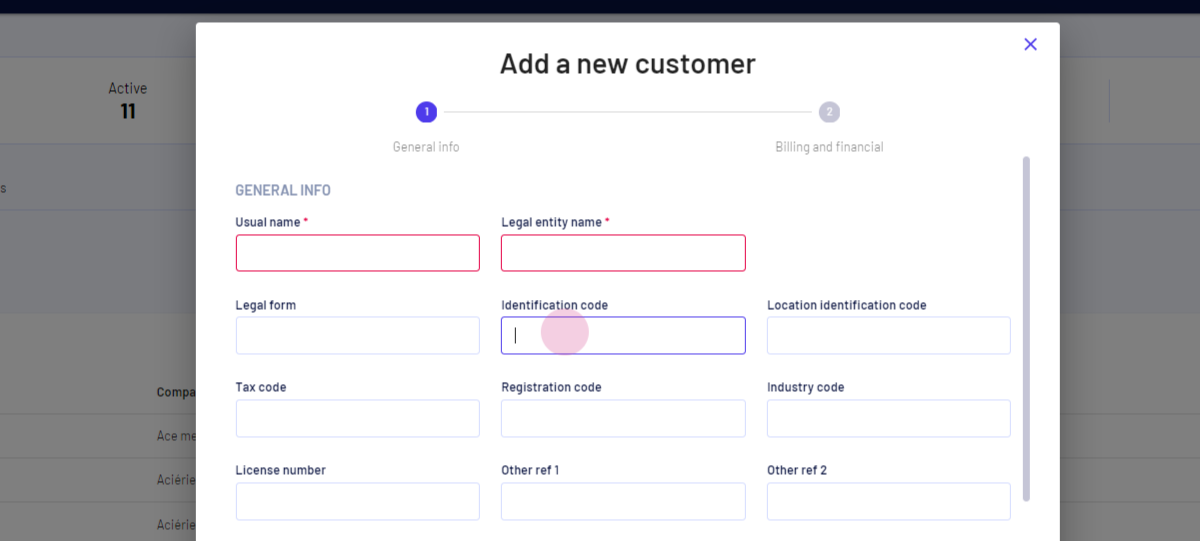
Step 3: Enter the name and fill in other info as required
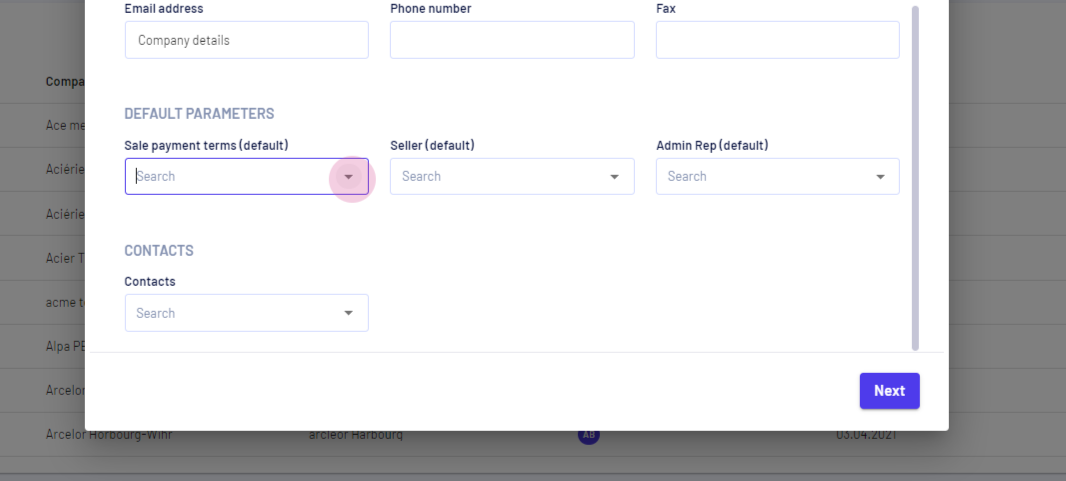
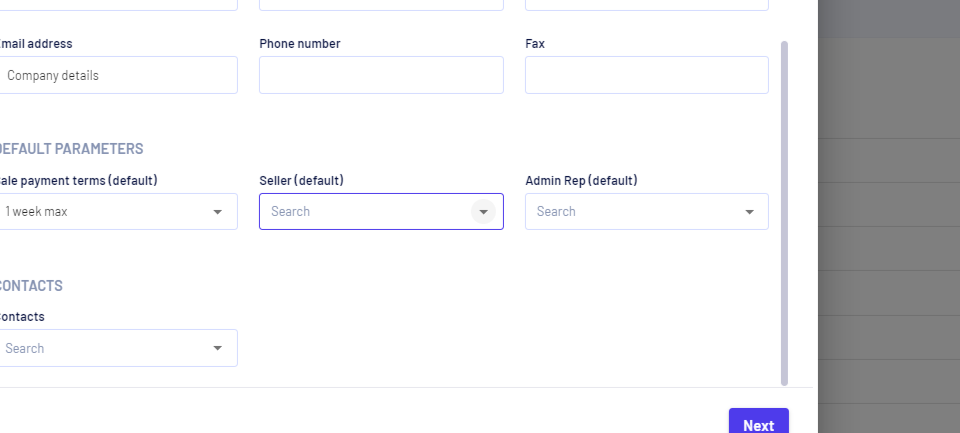
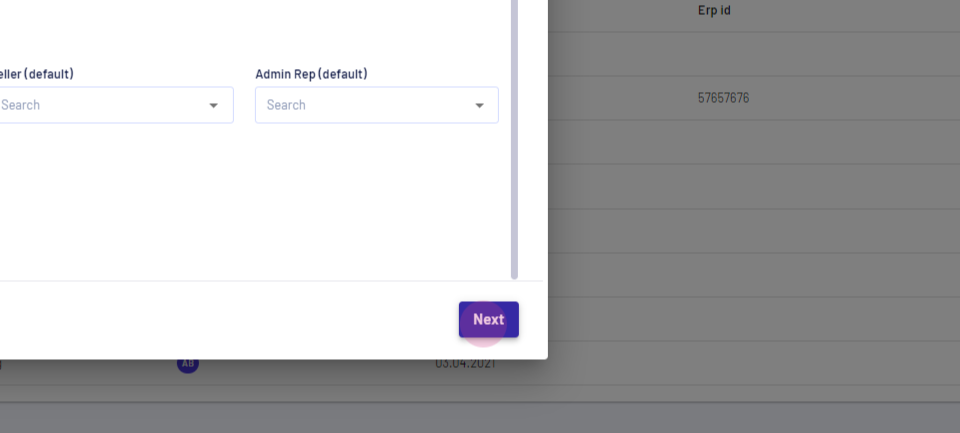
Step 4: Choose the default payment parameters.
Step 5: Add the users associated to the account - WARNING!
_If your firm is giving access to the full list of accounts, do not use this field as it will result in removing access to all accounts (customer / supplier) not selected for a given user.
Otherwise by selecting users here, you enable them to see trades / create / edits related to the account_
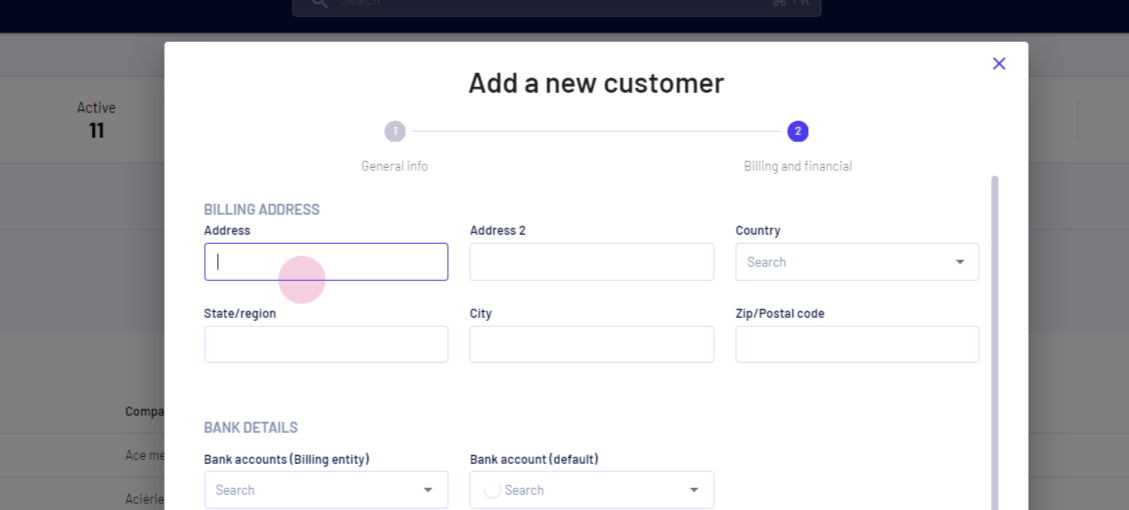
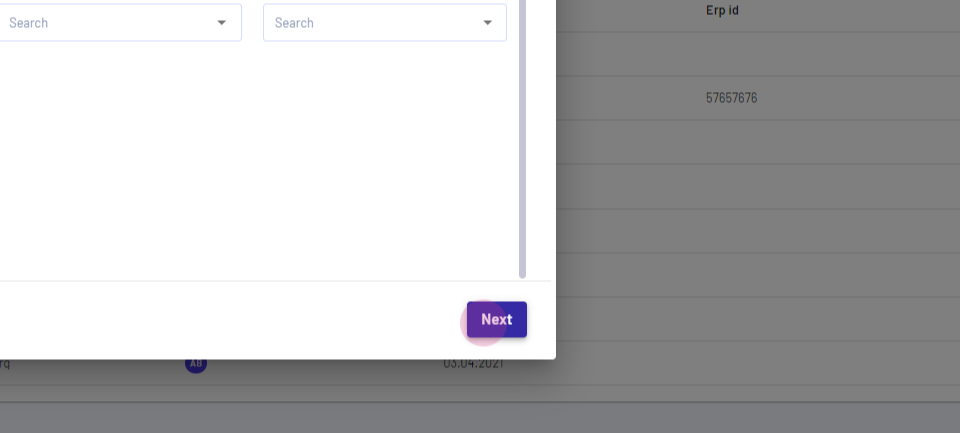
Step 6: Click on Next.
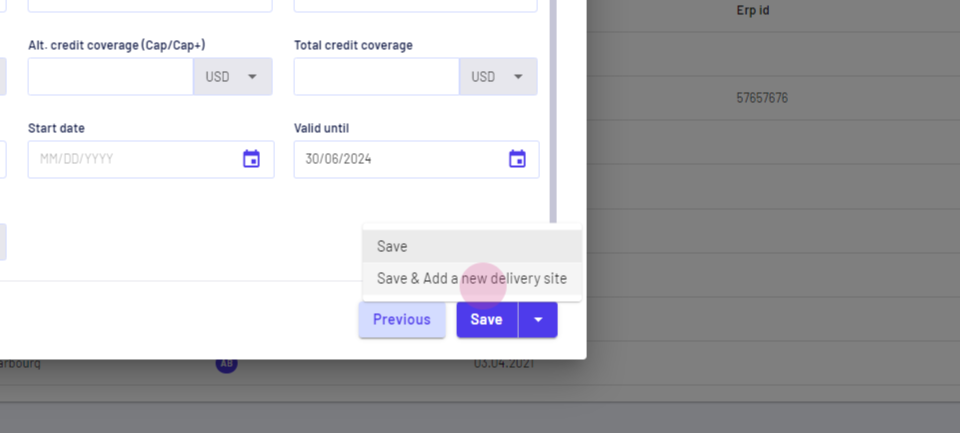
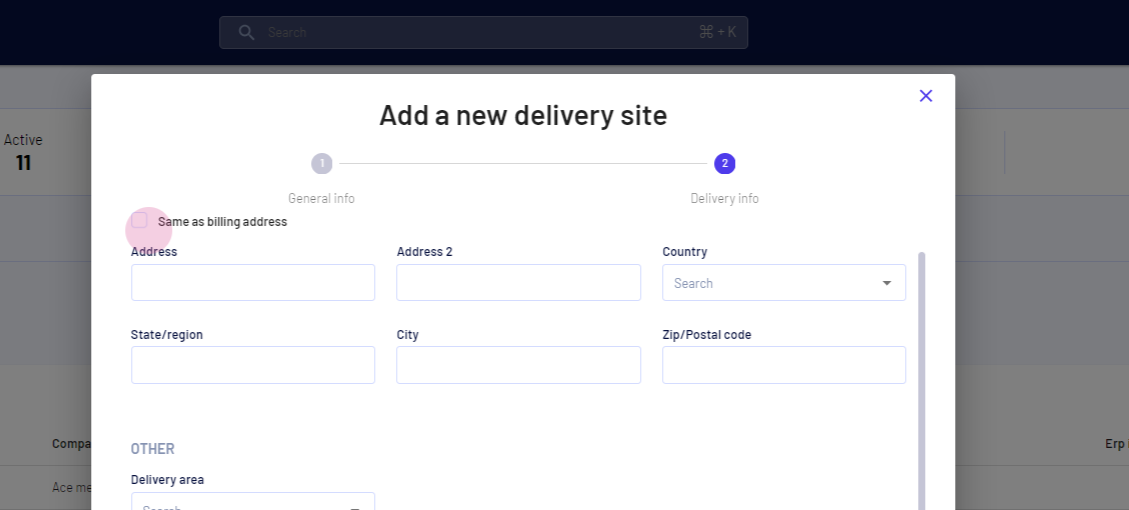
Step 7: Fill in the invoicing address, bank details, amount covered in insurance, coverage provider, and valid date of the insurance. Add a new delivery site by clicking inside.
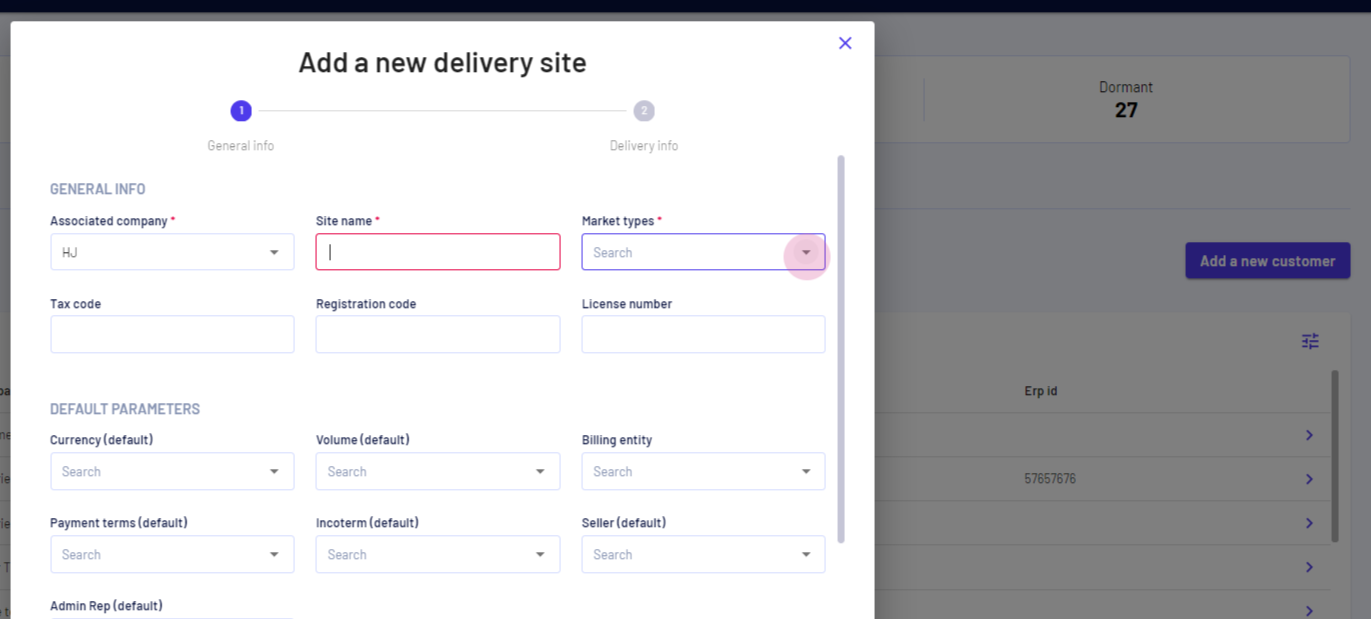
Step 8: Fill in the required details.
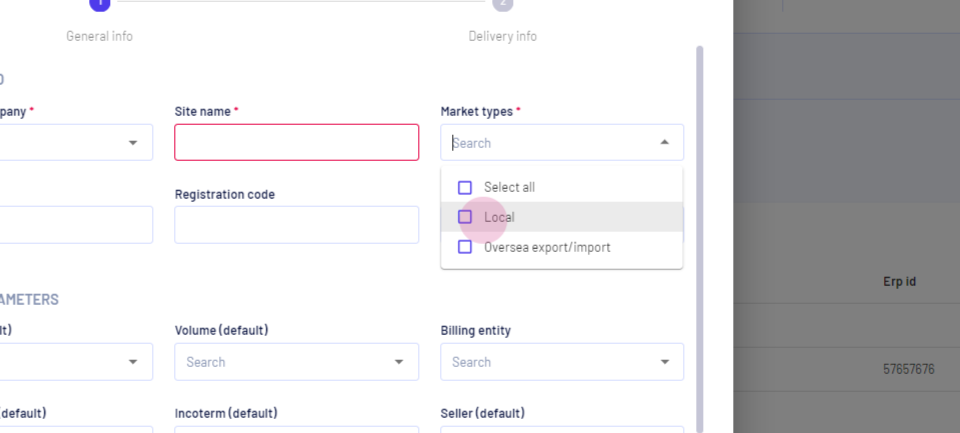
Step 9: When selecting market types, sites that do not have ability to load containers should only have "local" selected. They won't show as a suggestion in export trade
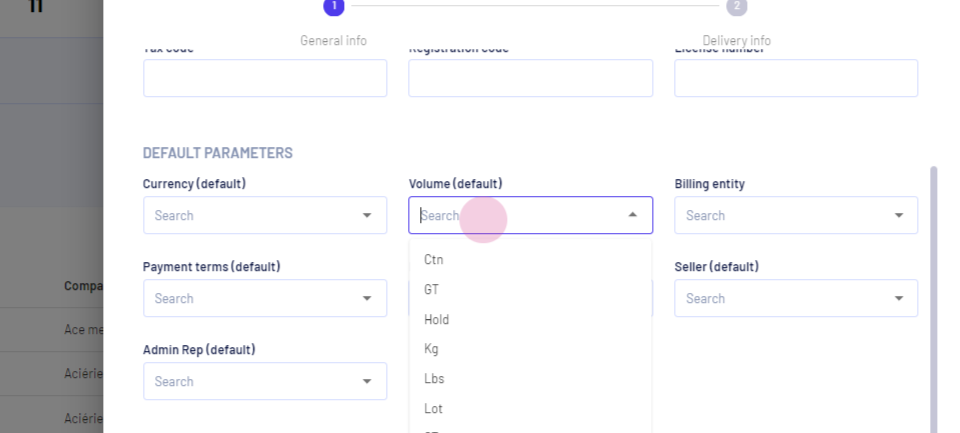
Step 10: Add the default volume for the site, the currency, and the incoterm used by the site. Add the associated accounts and a contact or add one from your own.
Step 11: Click on Next.
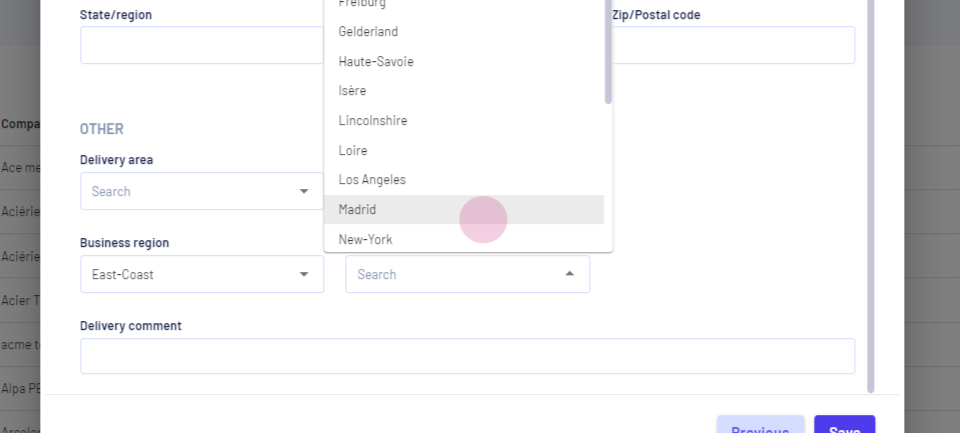
Step 12: Fill in the address or select same as billing address. Then, choose the delivery area, business region, and business sub-region.
Region & subregion are very useful for dashboarding purposes and filtering based on lanes / region in the app.
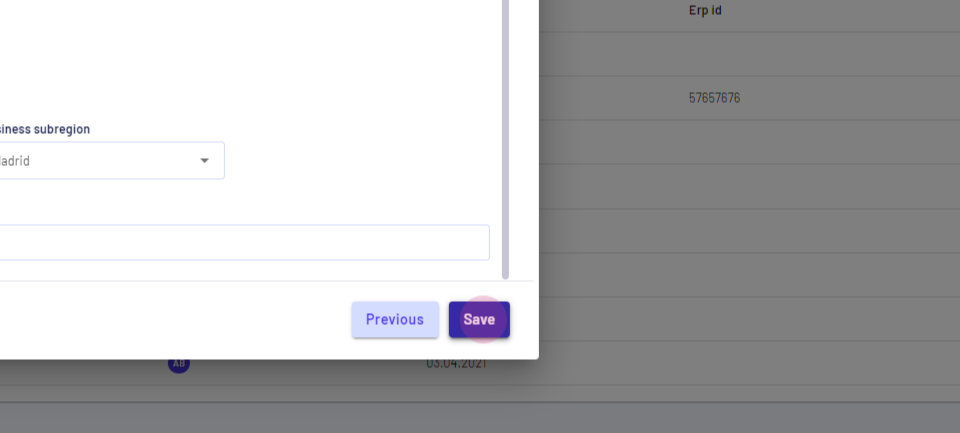
Step 13: Click on Save.
Updated on: 21/08/2024
Thank you!